Install required packages
Your bot will need specific versions to run. Before using the platform, you will need to set it up with the necessary versions.
There are several ways to upload new versions of packages to your platform. This can be done using wheel files, PIP, or git. The details for each of these methods are described below and in the Manage the Applications chapter.
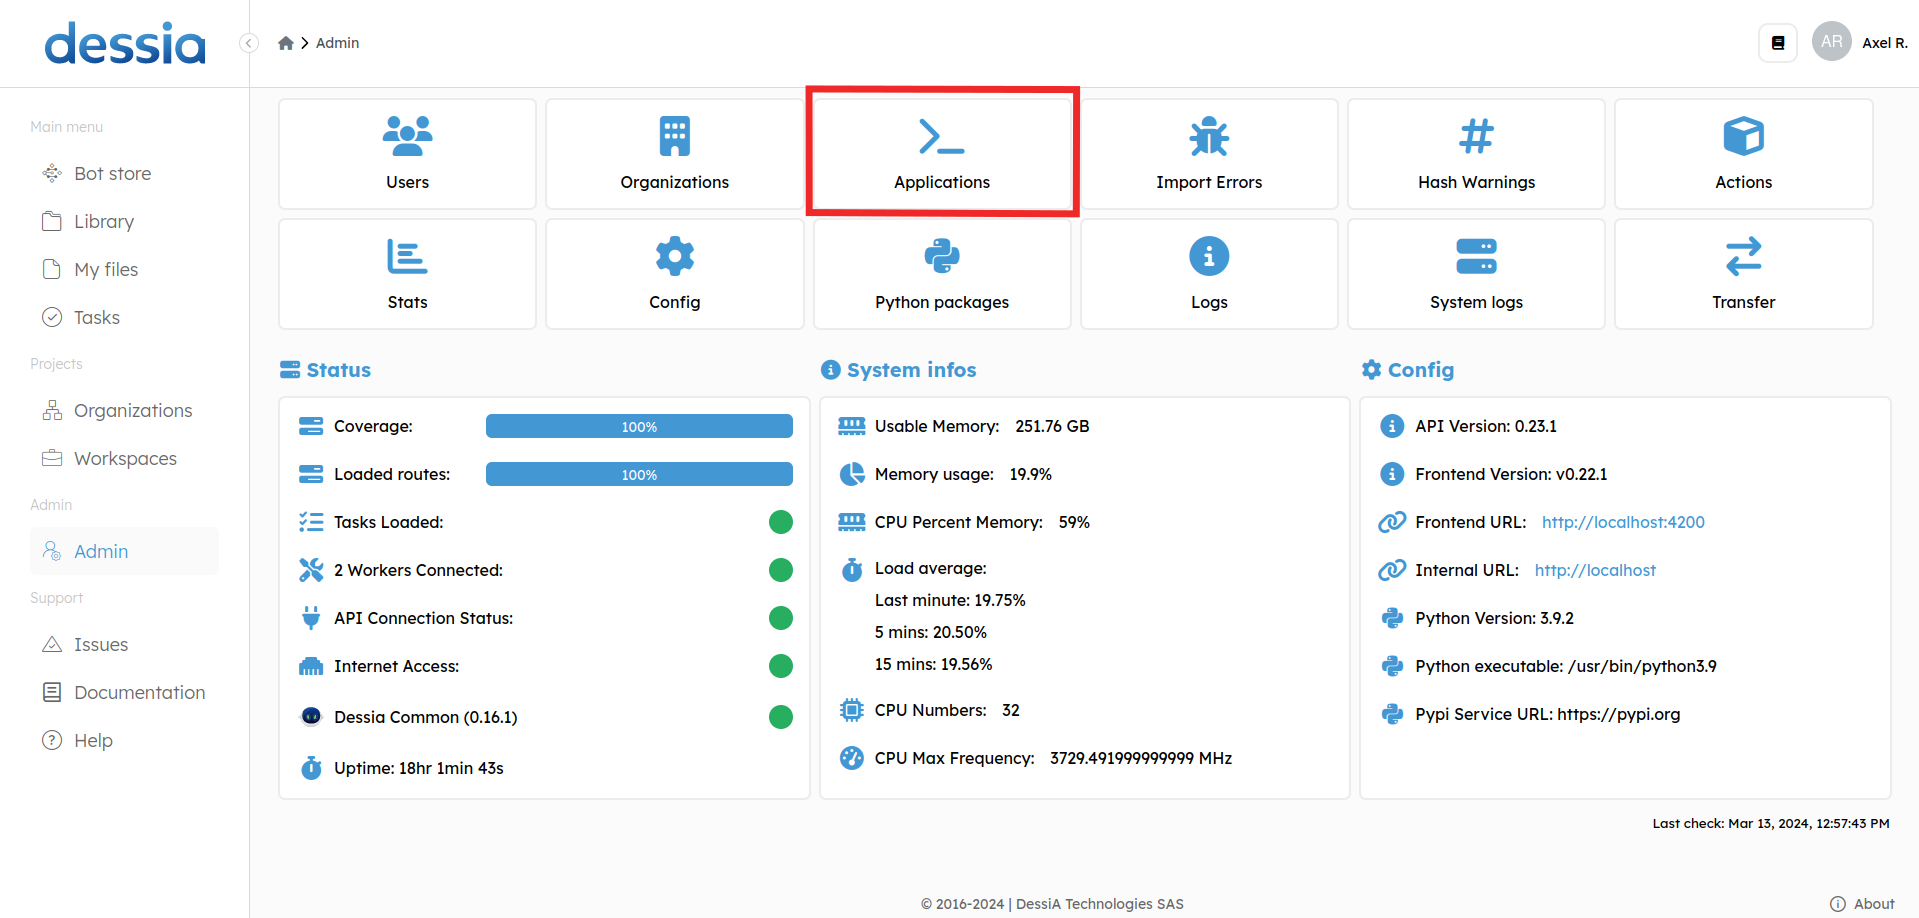
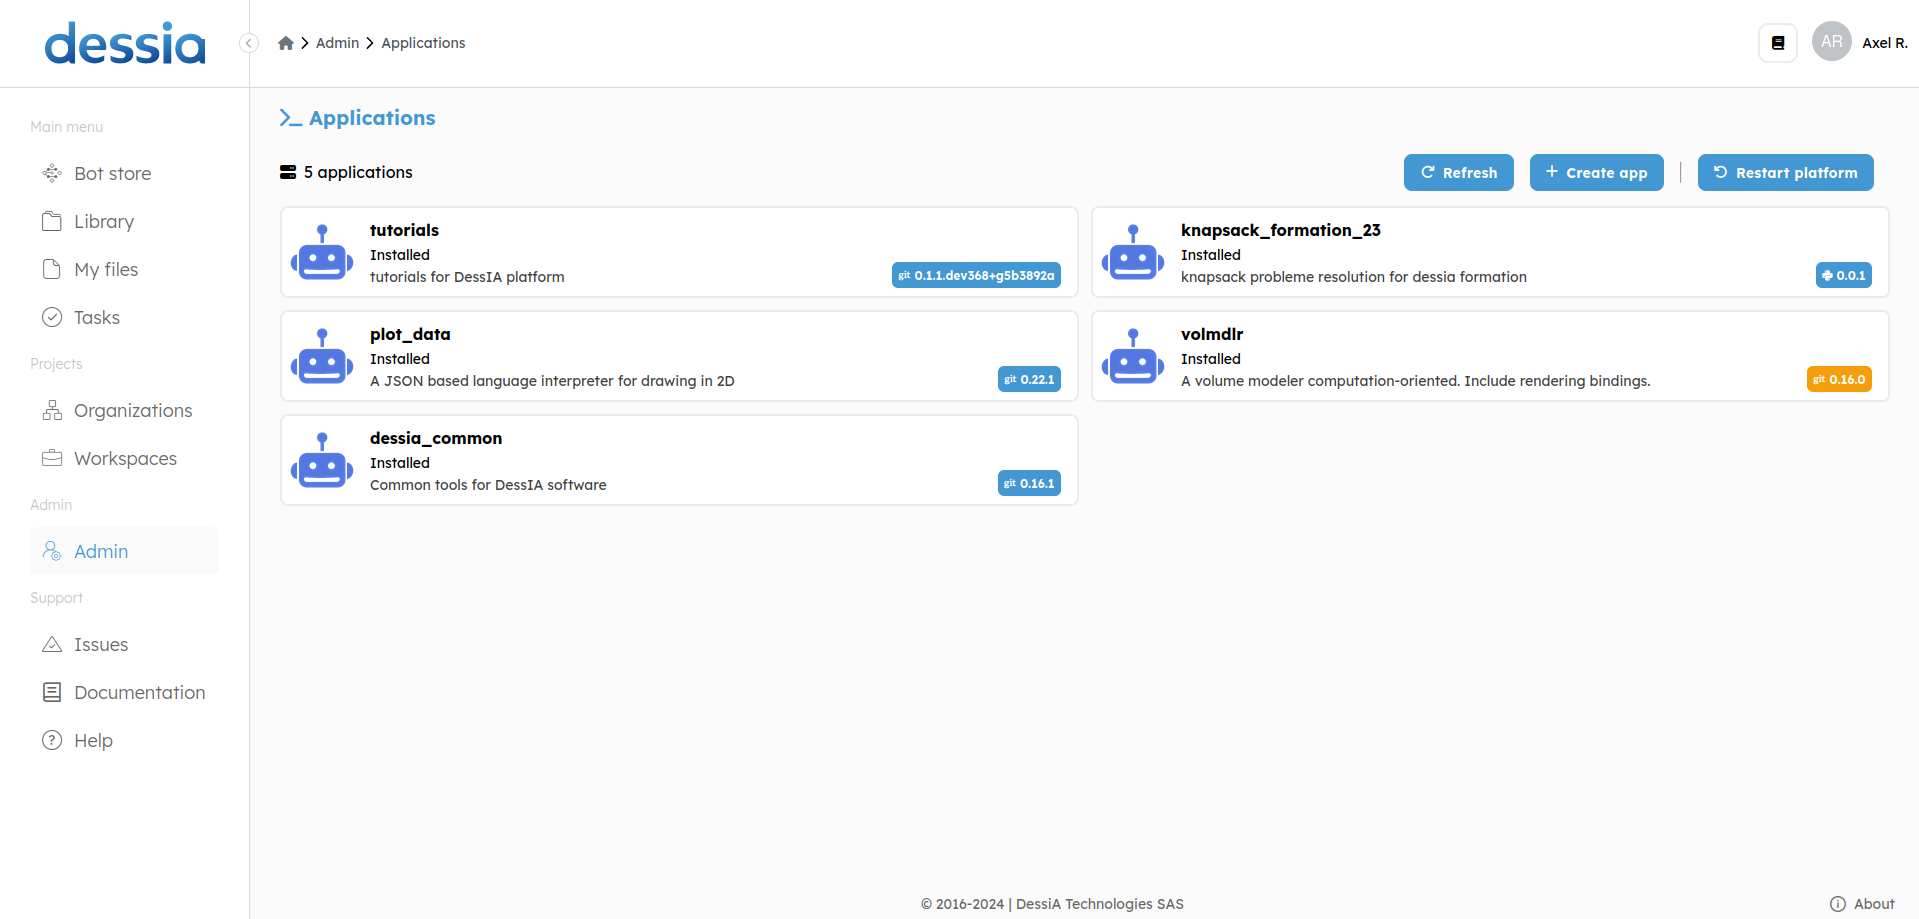
- First, go to Application in the Admin section.
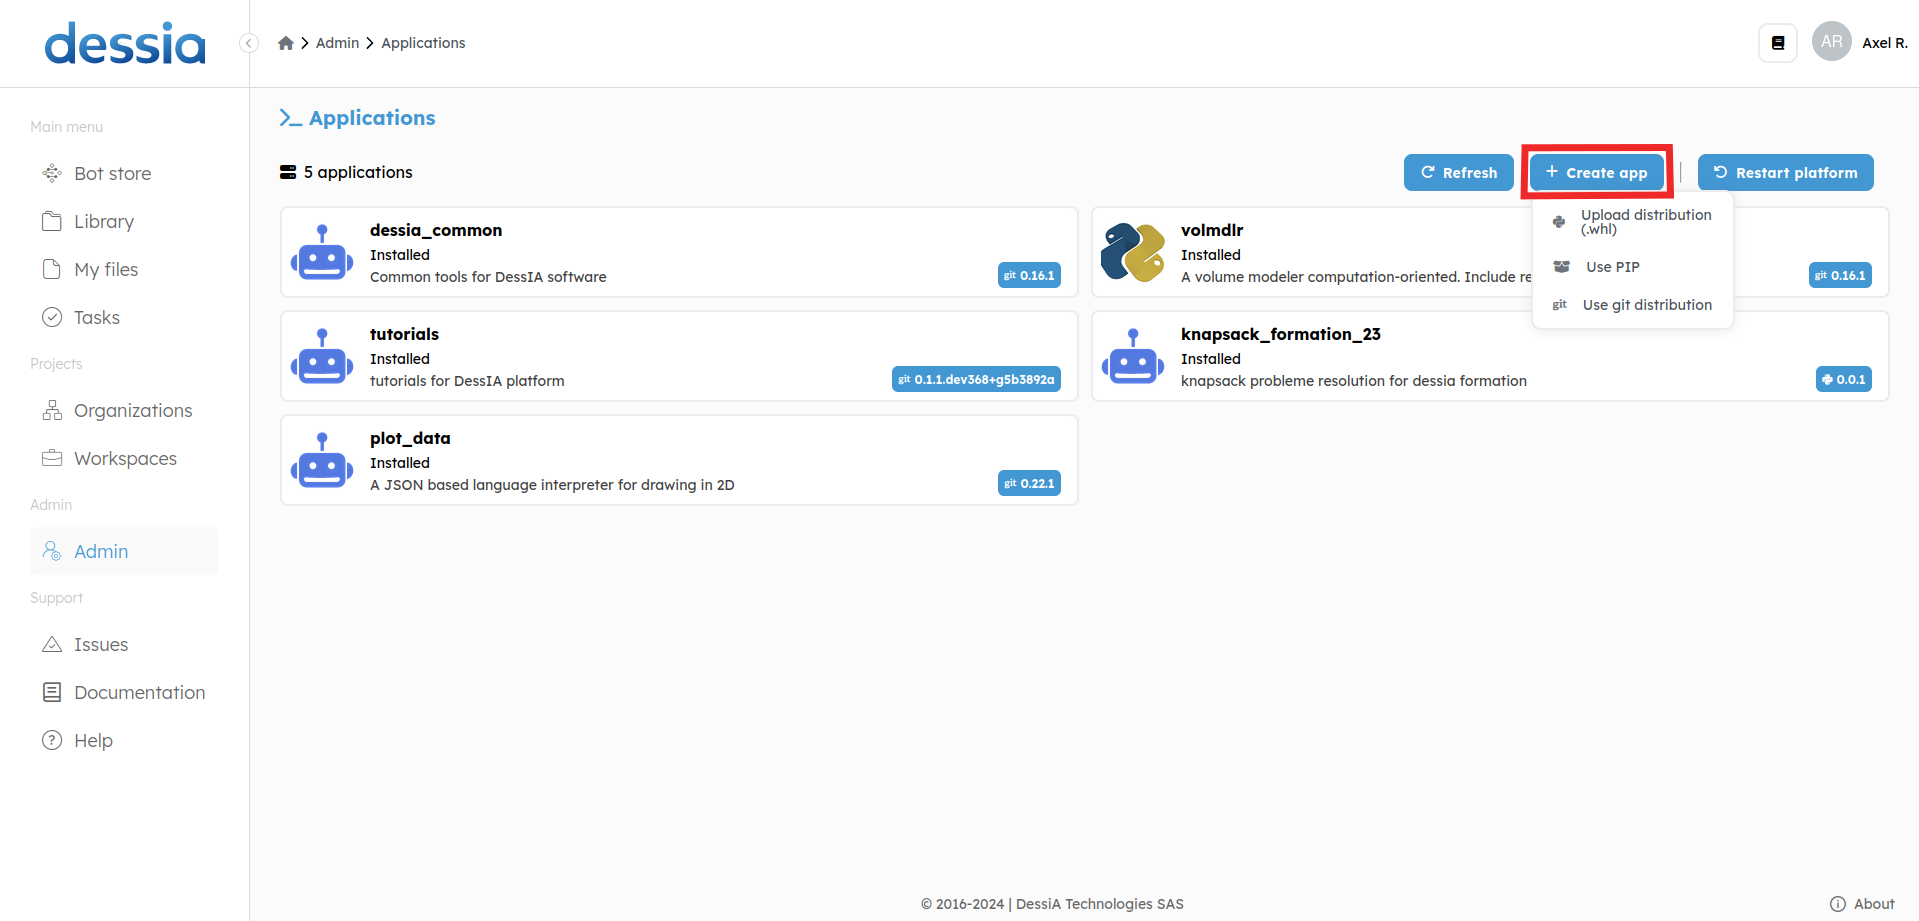
- Here, you will see a list of installed packages. If you are starting with a new platform, no applications are installed. If not, you may have applications already installed. Either way, to install or update a package, you can follow this tutorial. Select the CREATE APP button, where you can choose between three different types of installations:
- Wheel files : a generic way of uploading any open-source or non-open-source package. It is especially useful for non-open-source packages.
- PIP : an easy way of installing open-source packages, such as the ones you can find on GitHub.
- Git distribution : an more complex way of installing open-source packages, but this will allow you to select specific git branches and commits.
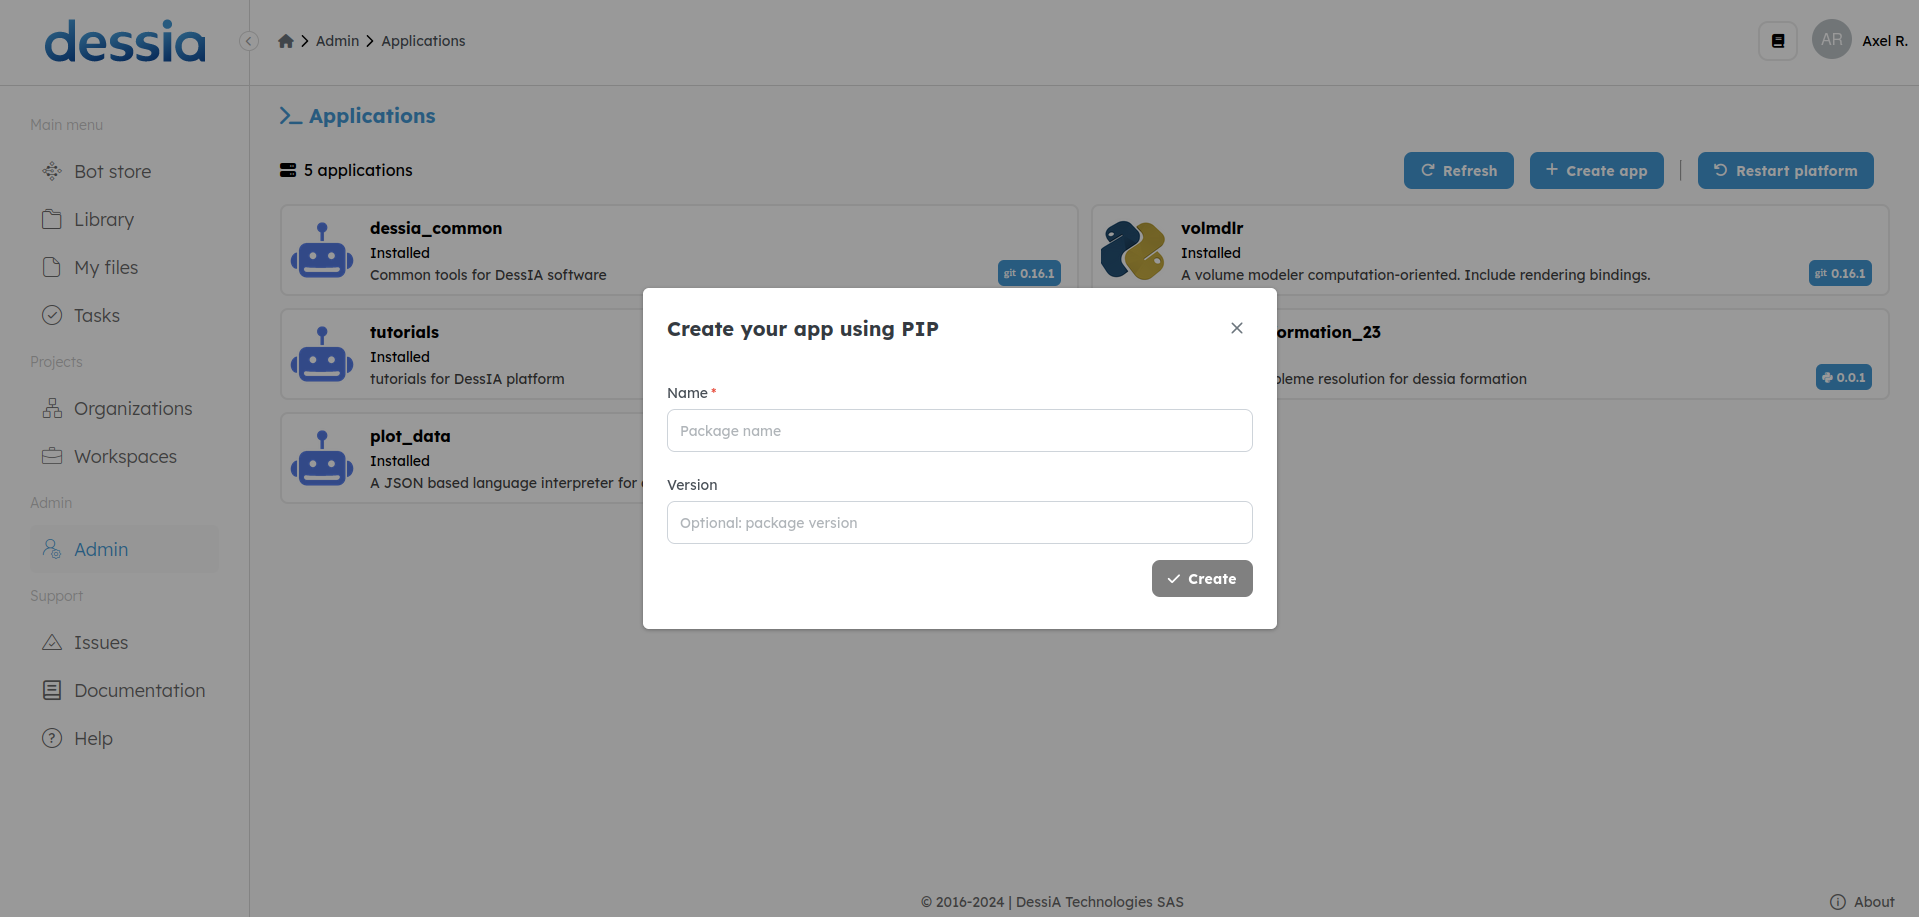
- Let's start with installing volmdlr (opens in a new tab), an open-source package developed by Dessia used by our bots for 3D modeling. Since we just want to install the latest version of volmdlr, we can simply install it with PIP. Simply enter the name of the package you want to install, in our case it's volmdlr. Since we don't need a specific version, the version field can remain empty. We will be installing the latest version.
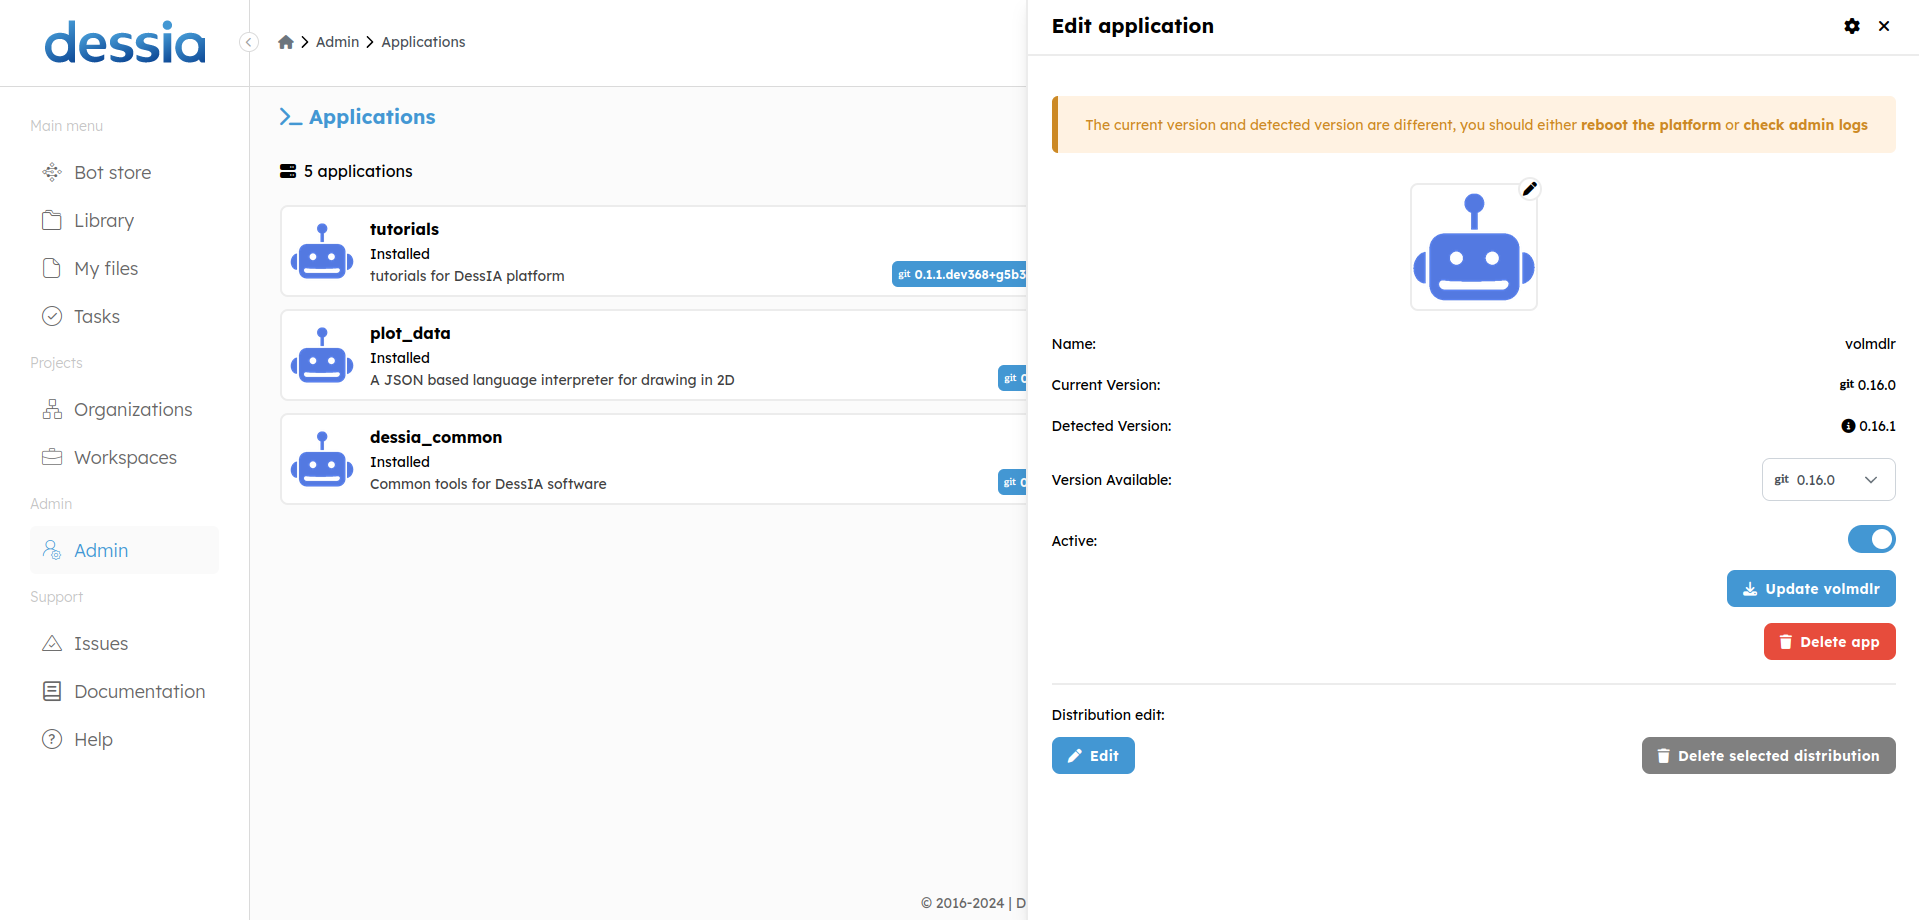
- Once the application have been installed on the platform, you will need to select the version in the drop-down and switch the Active button to activate the application. Finally, click on Update volmdlr to apply the changes.
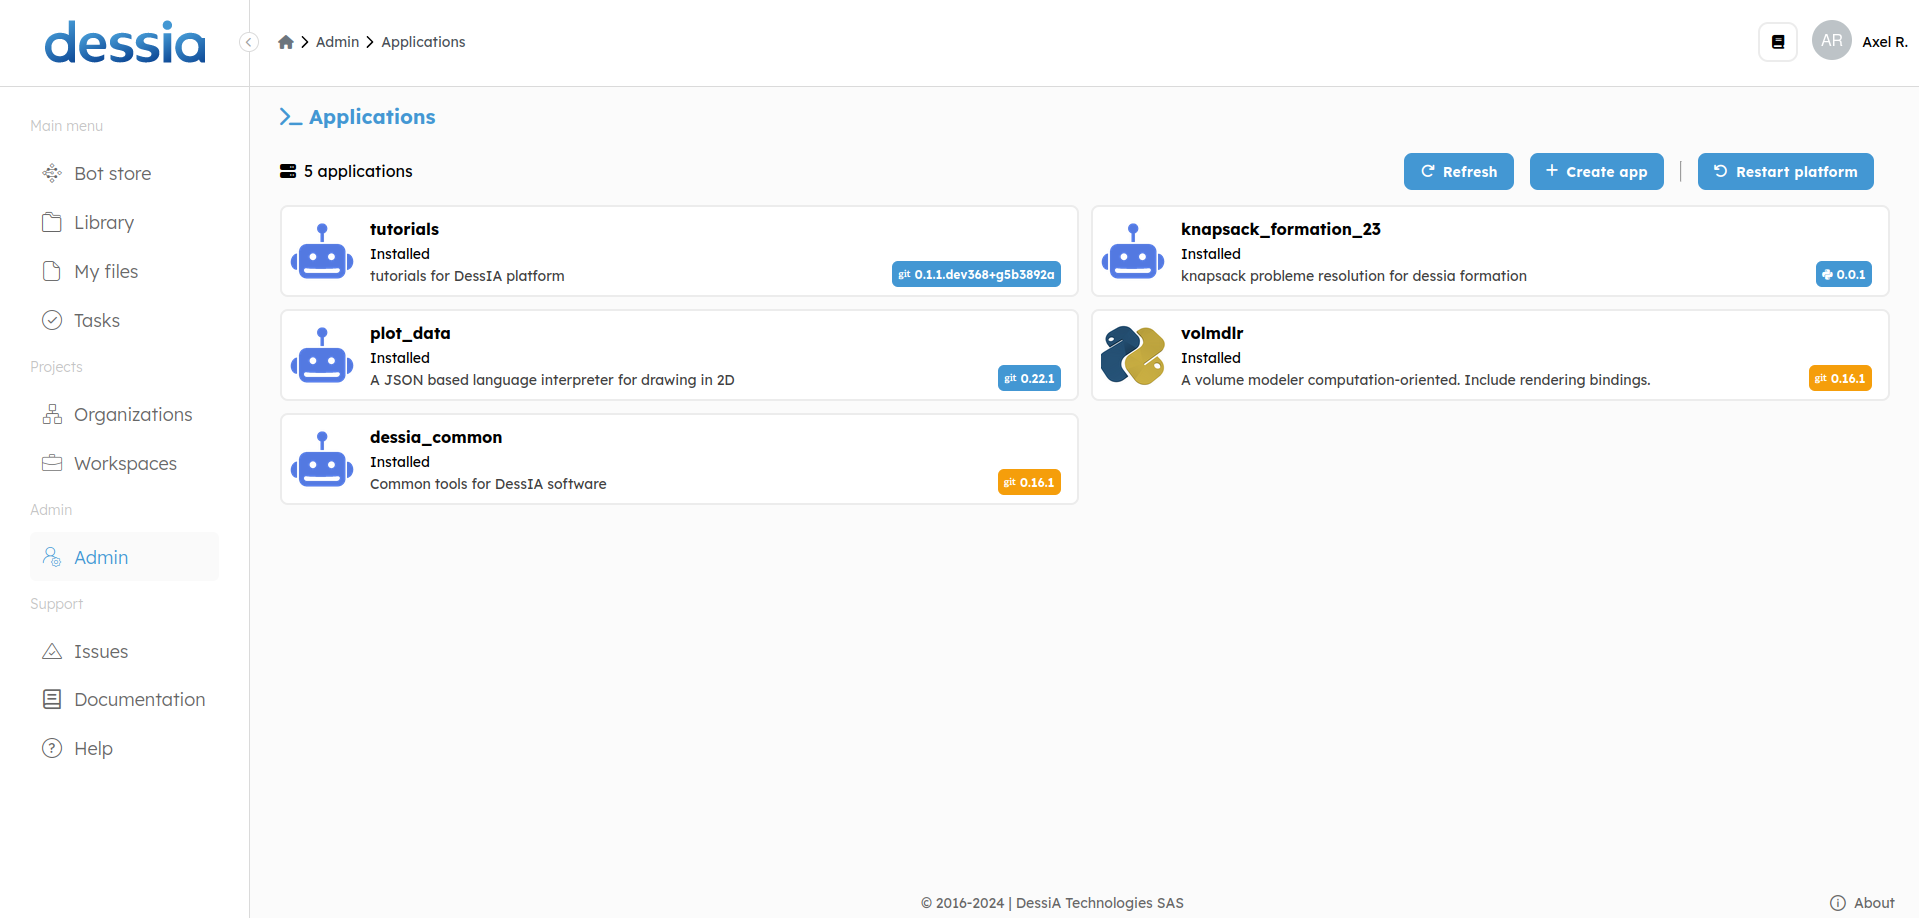
- If everything went well, you will see your application with a yellow tag indicating the installed version. The yellow tag means that changes have been made to the version of this application but the platform has not been restarted yet, so the modifications are not yet taken into account.
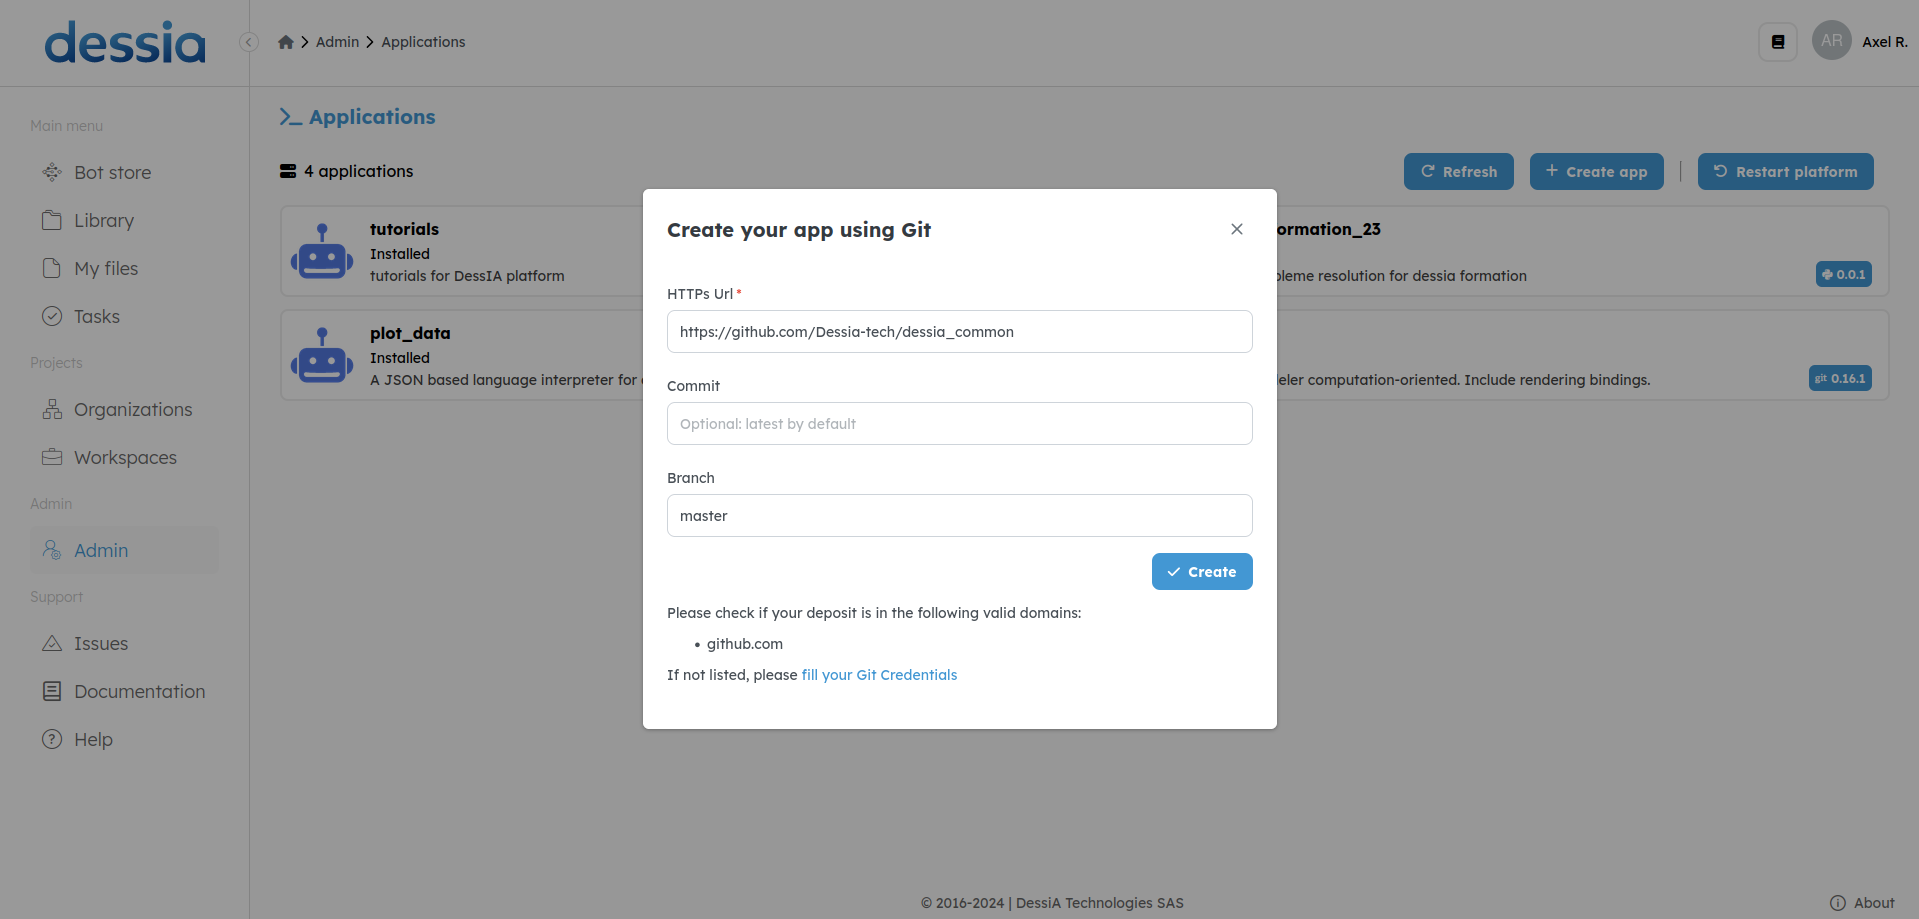
- Let's move on to the next application. We now want to install a new open-source package named dessia_common (opens in a new tab). This package is the core language between the bots and the platform. In this example we will be installing a specific commit of the testing branch. To do so, you will need the URL of the Git package, your Git username and token (opens in a new tab) and the Git branch. The commit is optional and can be changed in the next step. This works with any Git repository (GitHub, GitLab, Gitea...).
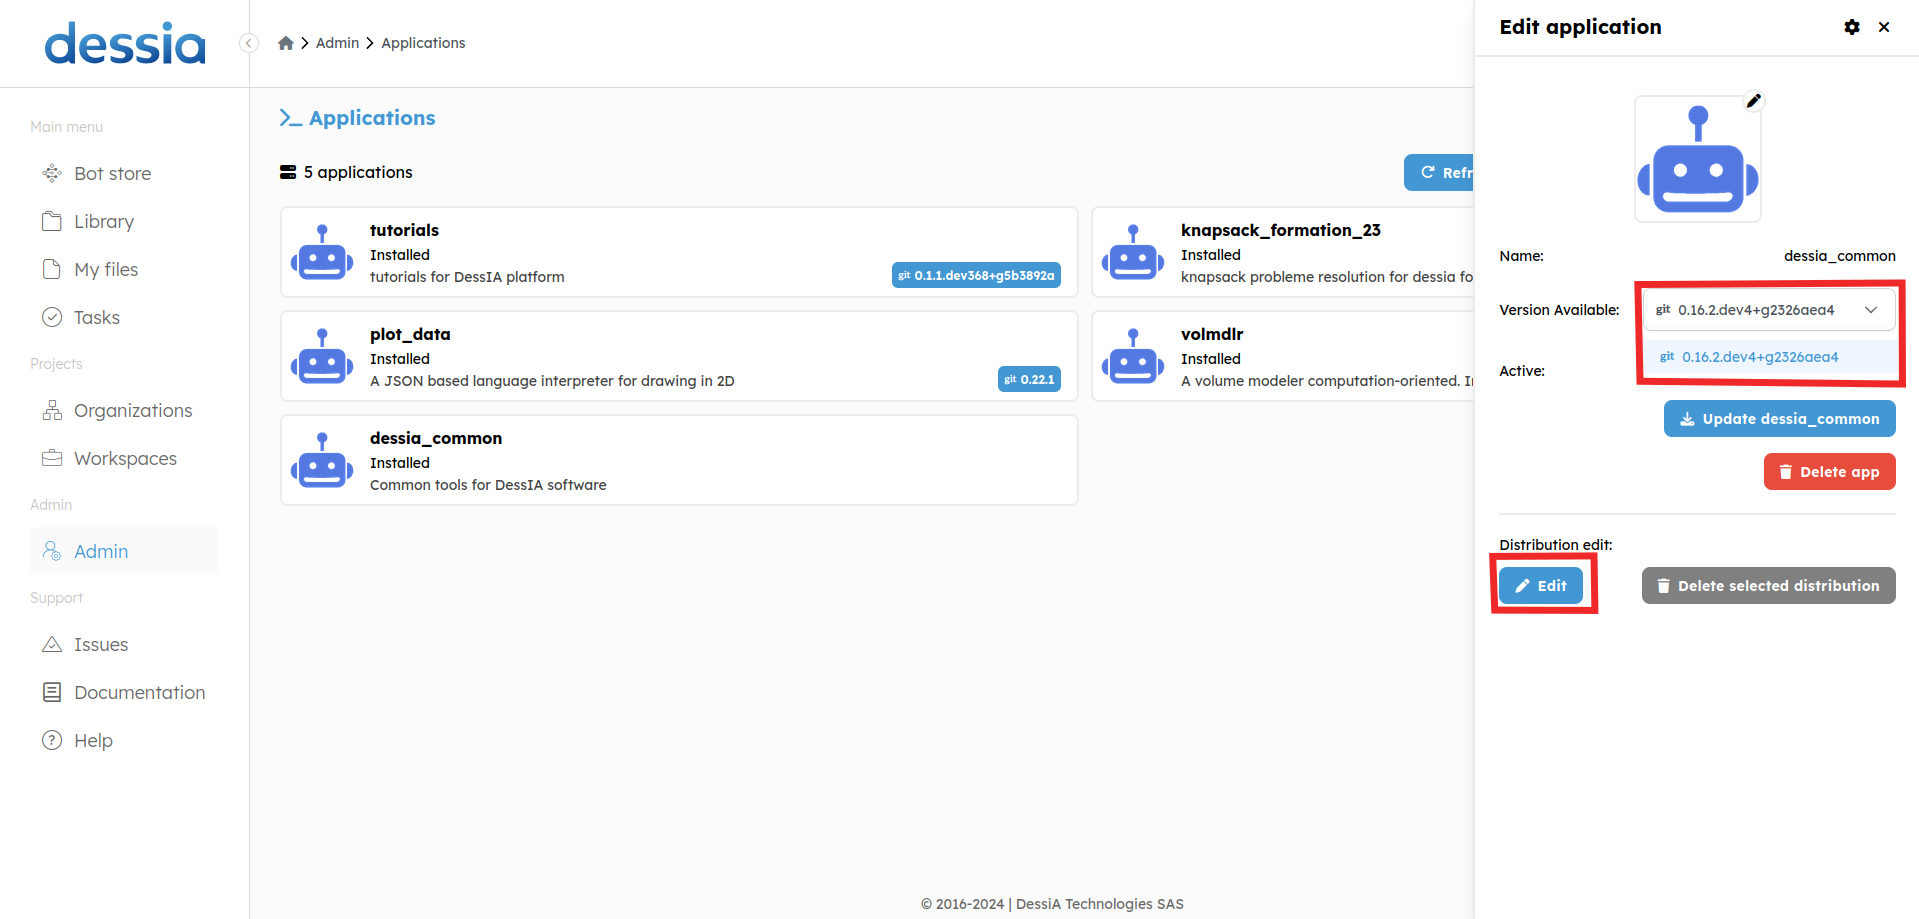
- We want to install a commit tagged v0.16.1 in this example. To do so, click on the edit button.
-
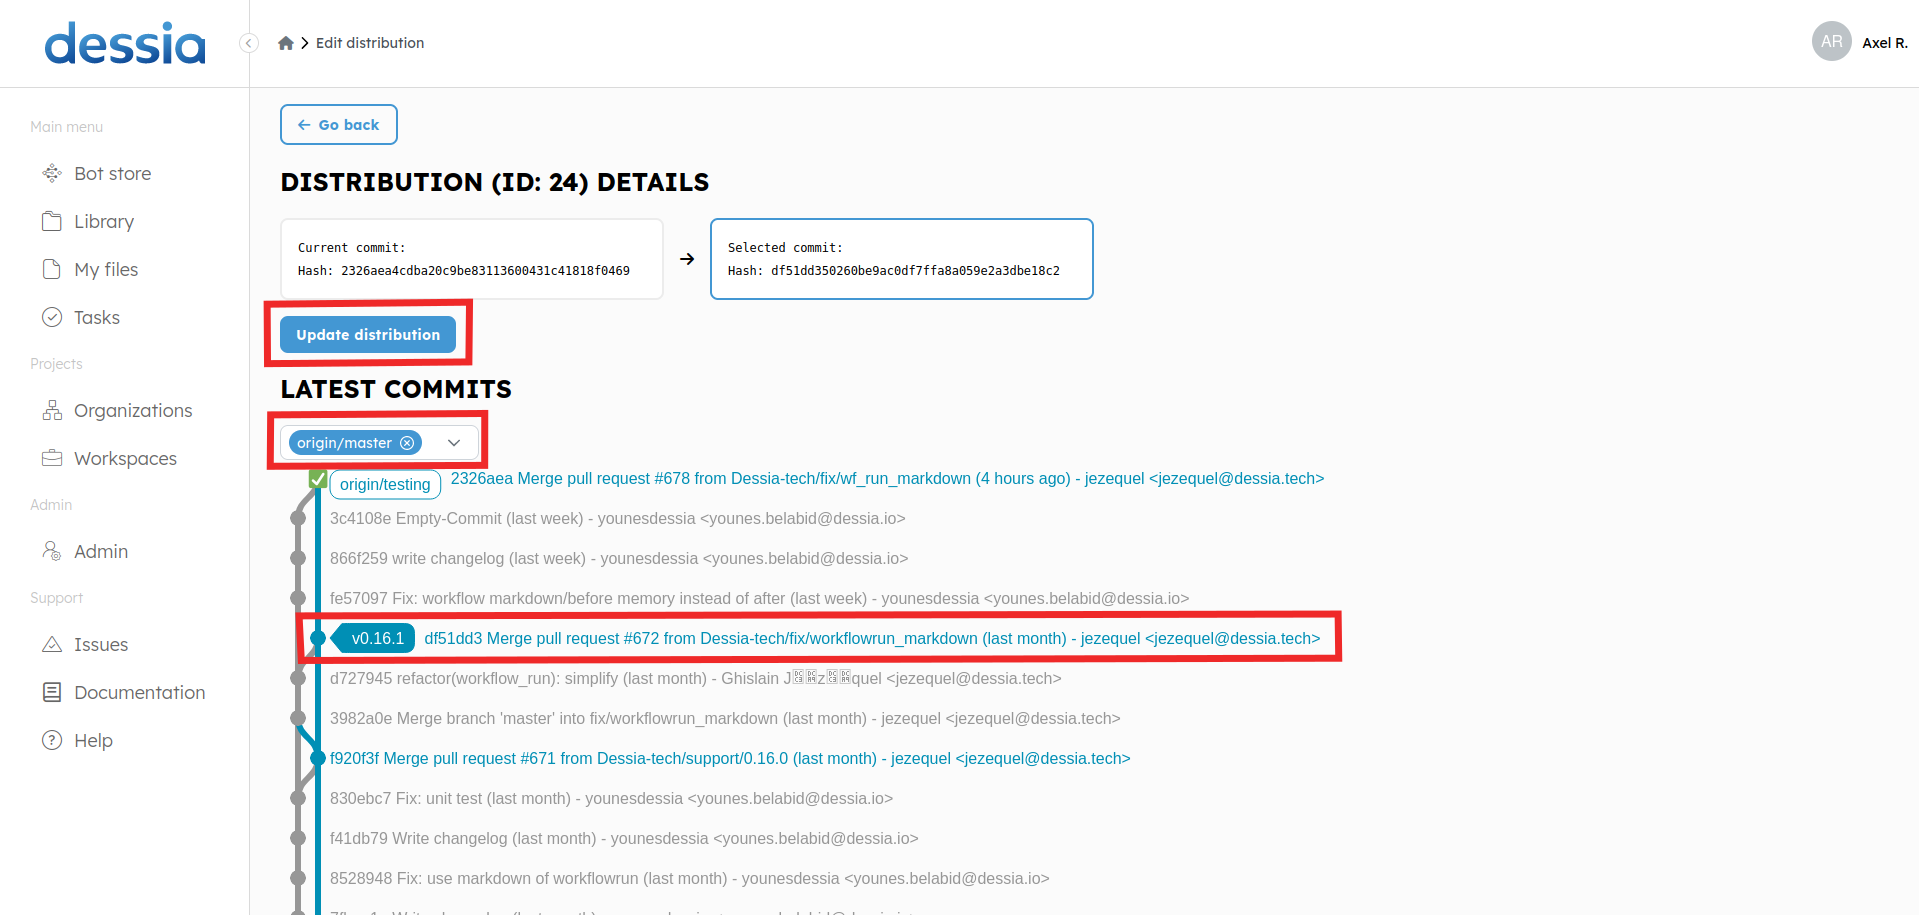
Select the right branch in the drop down. Scroll down to the desired commit. In our case, we are looking for a v0.16.1 tag, on the master branch.
-
Click on the commit.
-
If you go back up to the top of the page, an Update distribution button have appeared. Select it to update to the right commit.
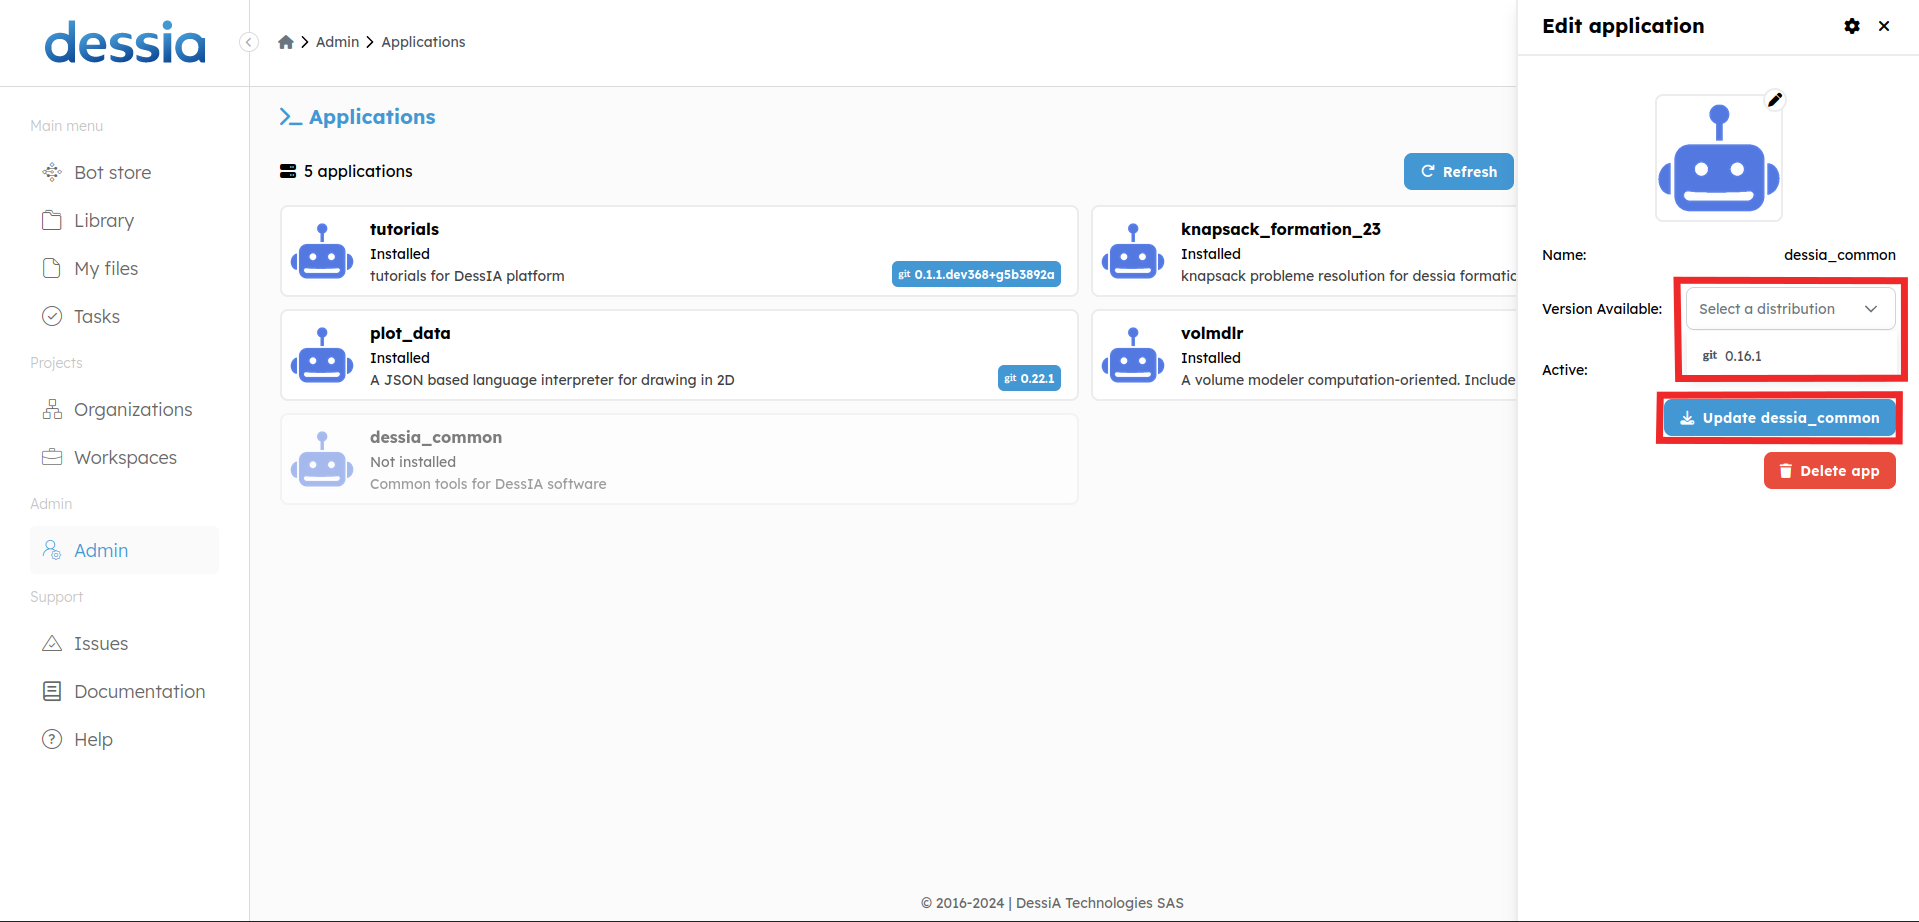
- Select the version in the drop-down and select Update dessia_common.
- The two main applications required for the platform to function properly have been uploaded. If you wish to upload additional packages, please follow the steps outlined previously. Later in this documentation, you will be instructed on how to install a bot you have created using the wheel file.
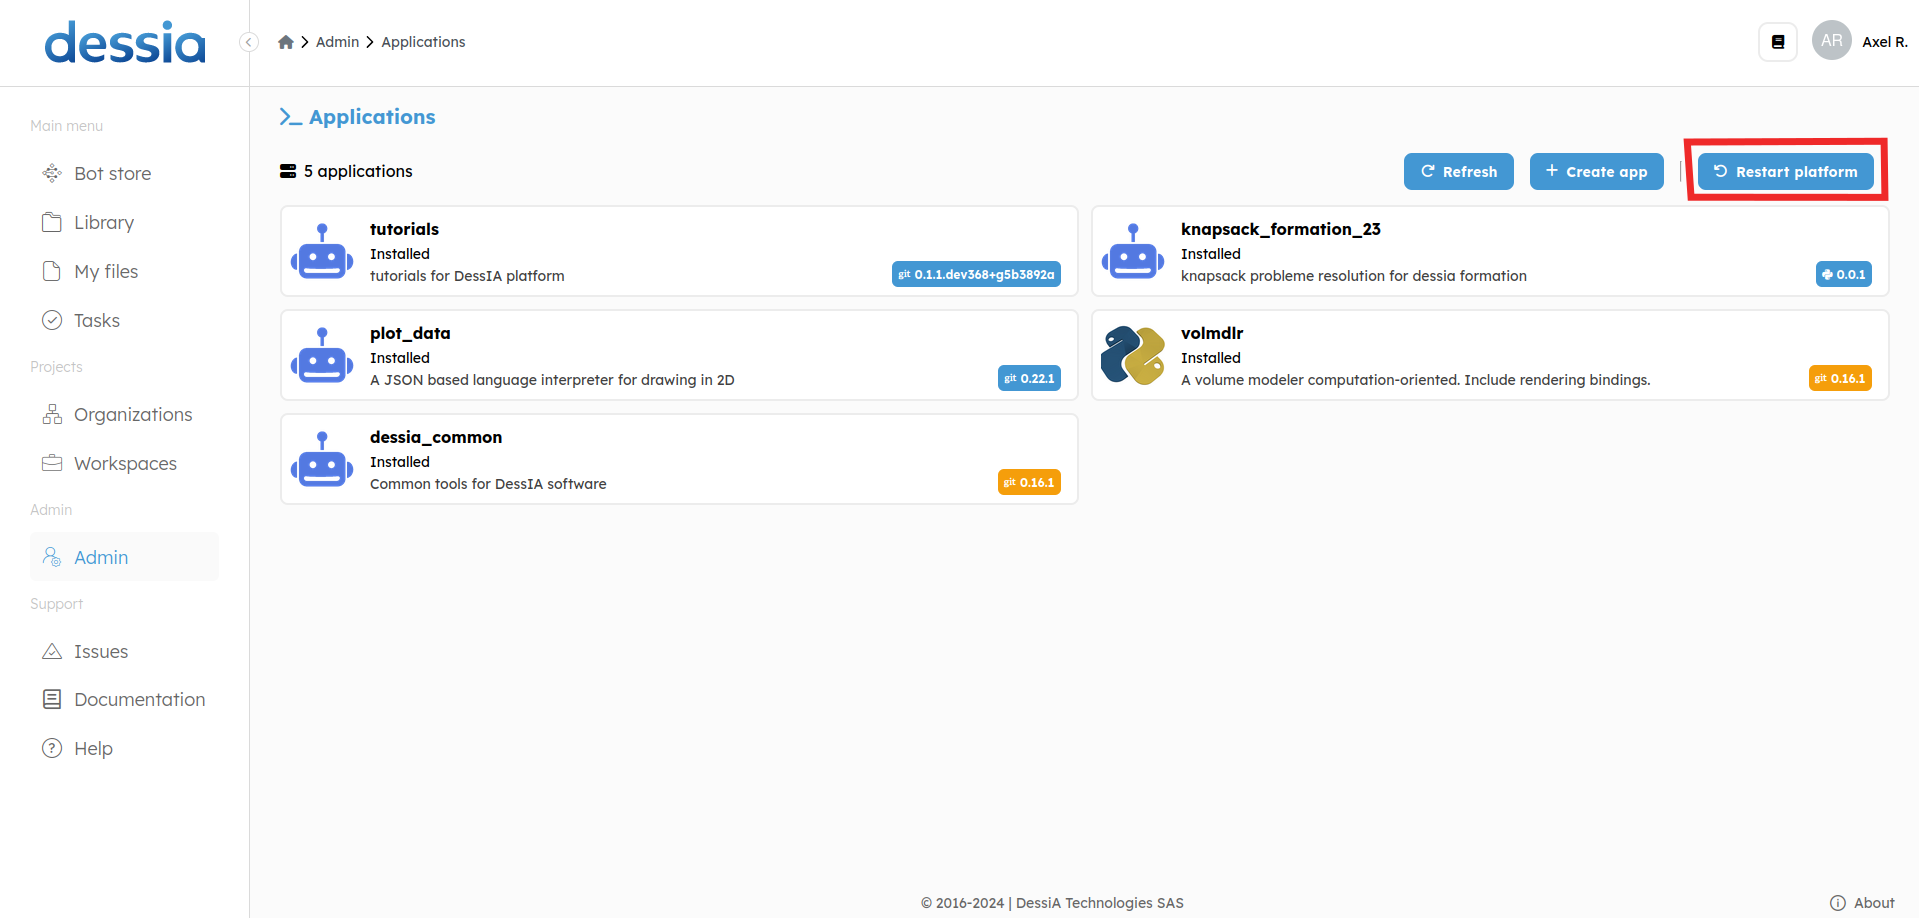
- However, your task is not yet complete. The final step is to restart the platform in order to install the uploaded packages. You can either click on the orange banner that states "The platform needs to restart", or click on the "Restart platform" button in the top-right hand corner, or return to the Admin panel and select Actions.
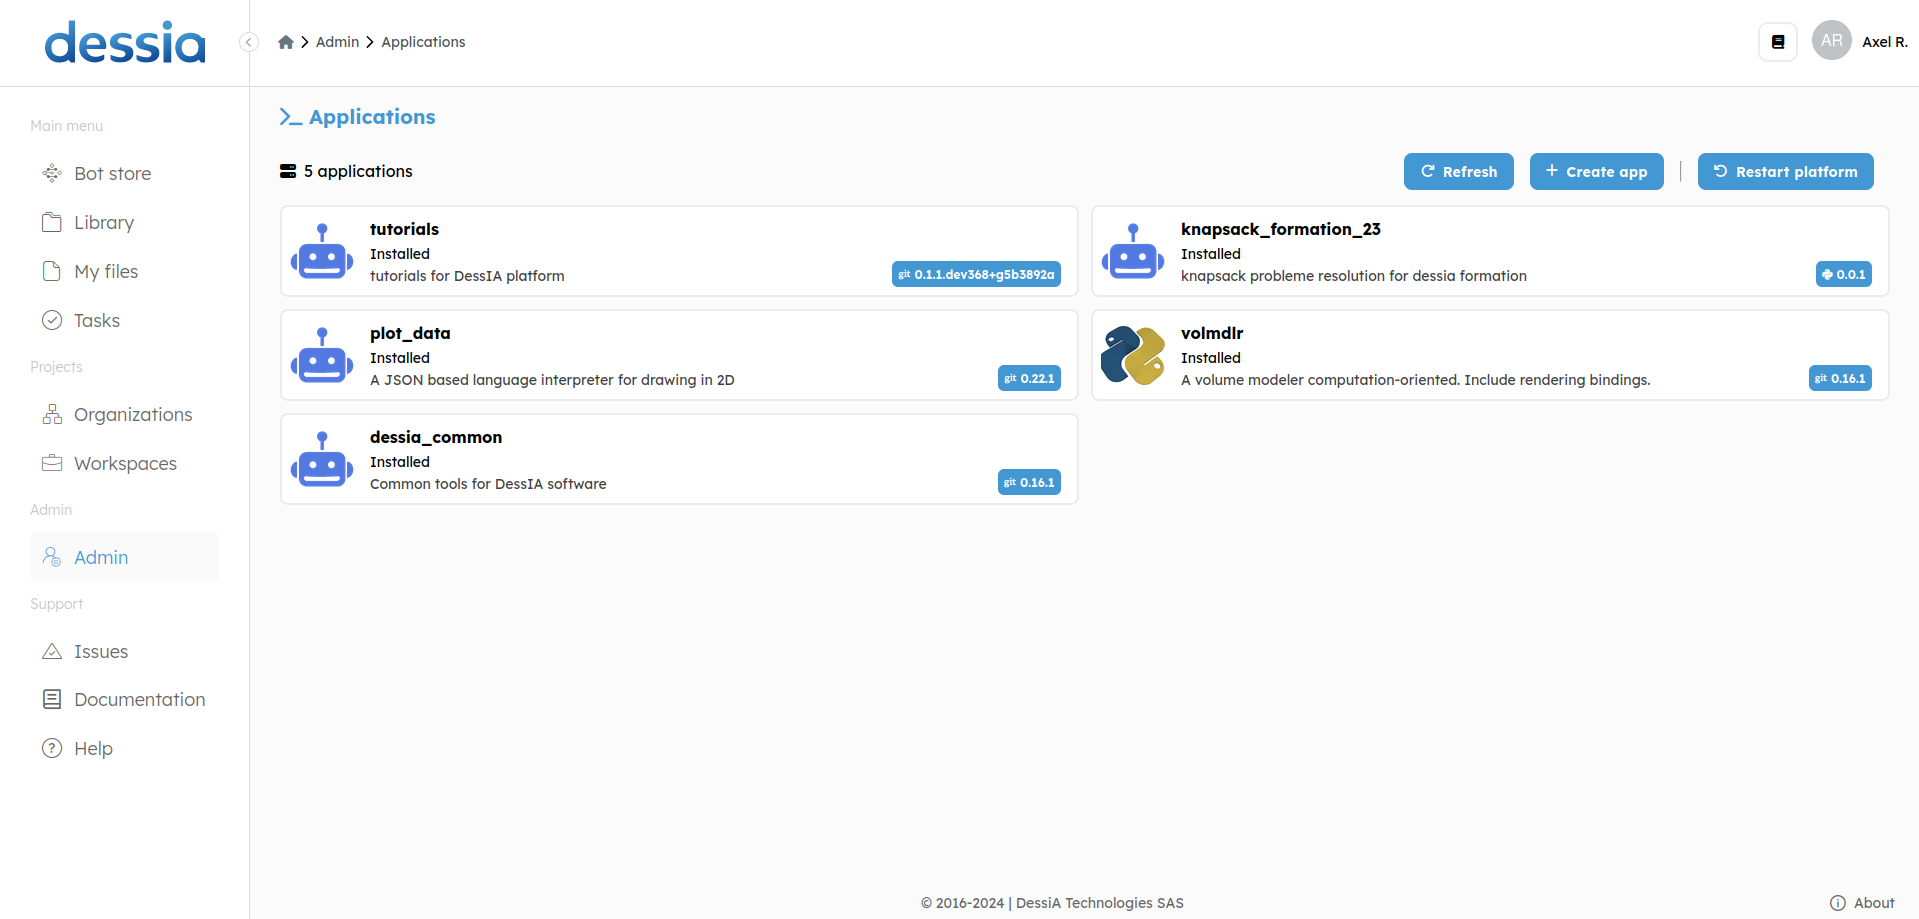
- Verify that the applications are correctly installed by returning to the Applications section in the Admin panel. If the yellow tag has turned blue, then the installation is complete. If not, try hitting CTRL + F5 to reload the page with empty cache. If the tags are still yellow, try restarting the platform again. If it still doesn't work, please contact your platform administrator.