Explore the objects library
This page provides guidance on how to navigate and manage your library. The tutorial uses the knapsack problem as an example to illustrate various concepts and features of the Library section. The first section provides an introduction on how to navigate through the library, followed by an explanation of how to create new objects from the library.
1. Navigating through the library
This section presents the library's structure and the different features for managing your objects.
The Library section can be found in the main menu, as shown in the picture below. By clicking on the Library button, the user will be redirected to the Library section of the Dessia platform.
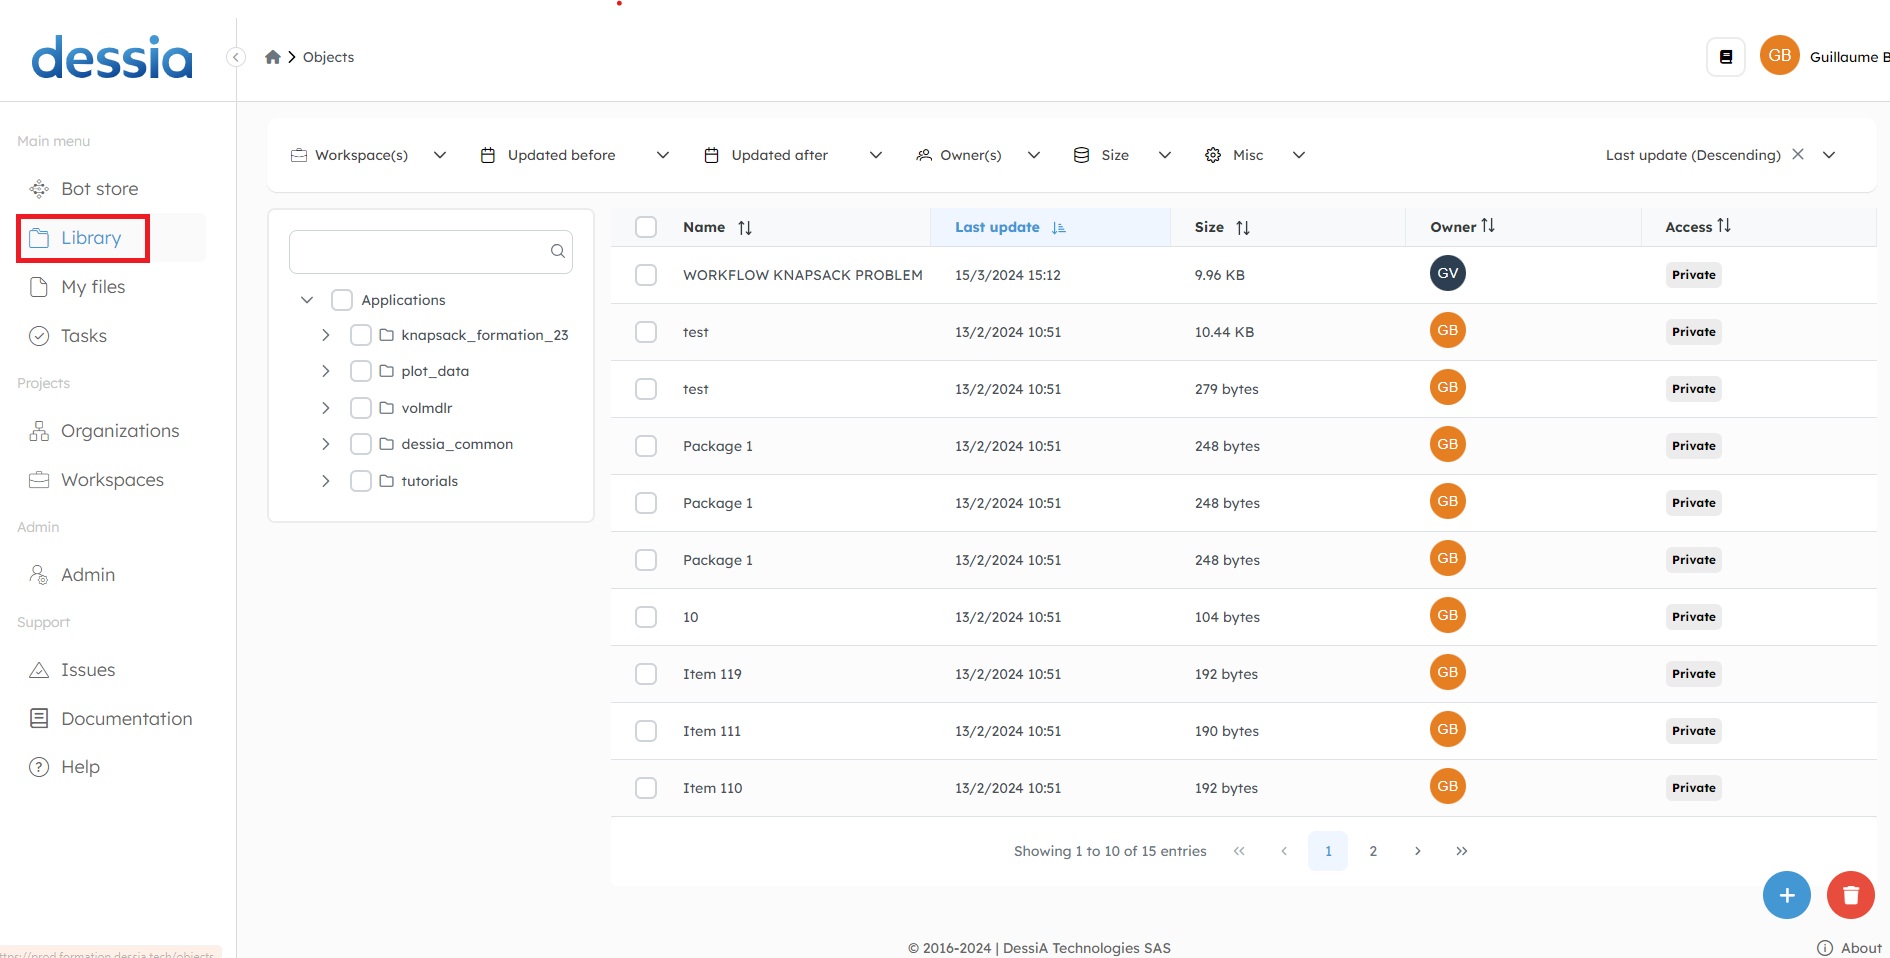
In the Library section, you can view all the applications installed on the platform and all the available objects. Global information is visible for each available object:
- the object name
- the date of the last object update
- the object size
- the object owner (one user of the Dessia platform)
- a boolean to define the public access (True = object accessible by all users; False = object accessible by the owner only)
The next section explains how to manage the objects available in the Library.
2. Managing your objects
a. Open an existing object
This section explains how to open an existing object in your library.
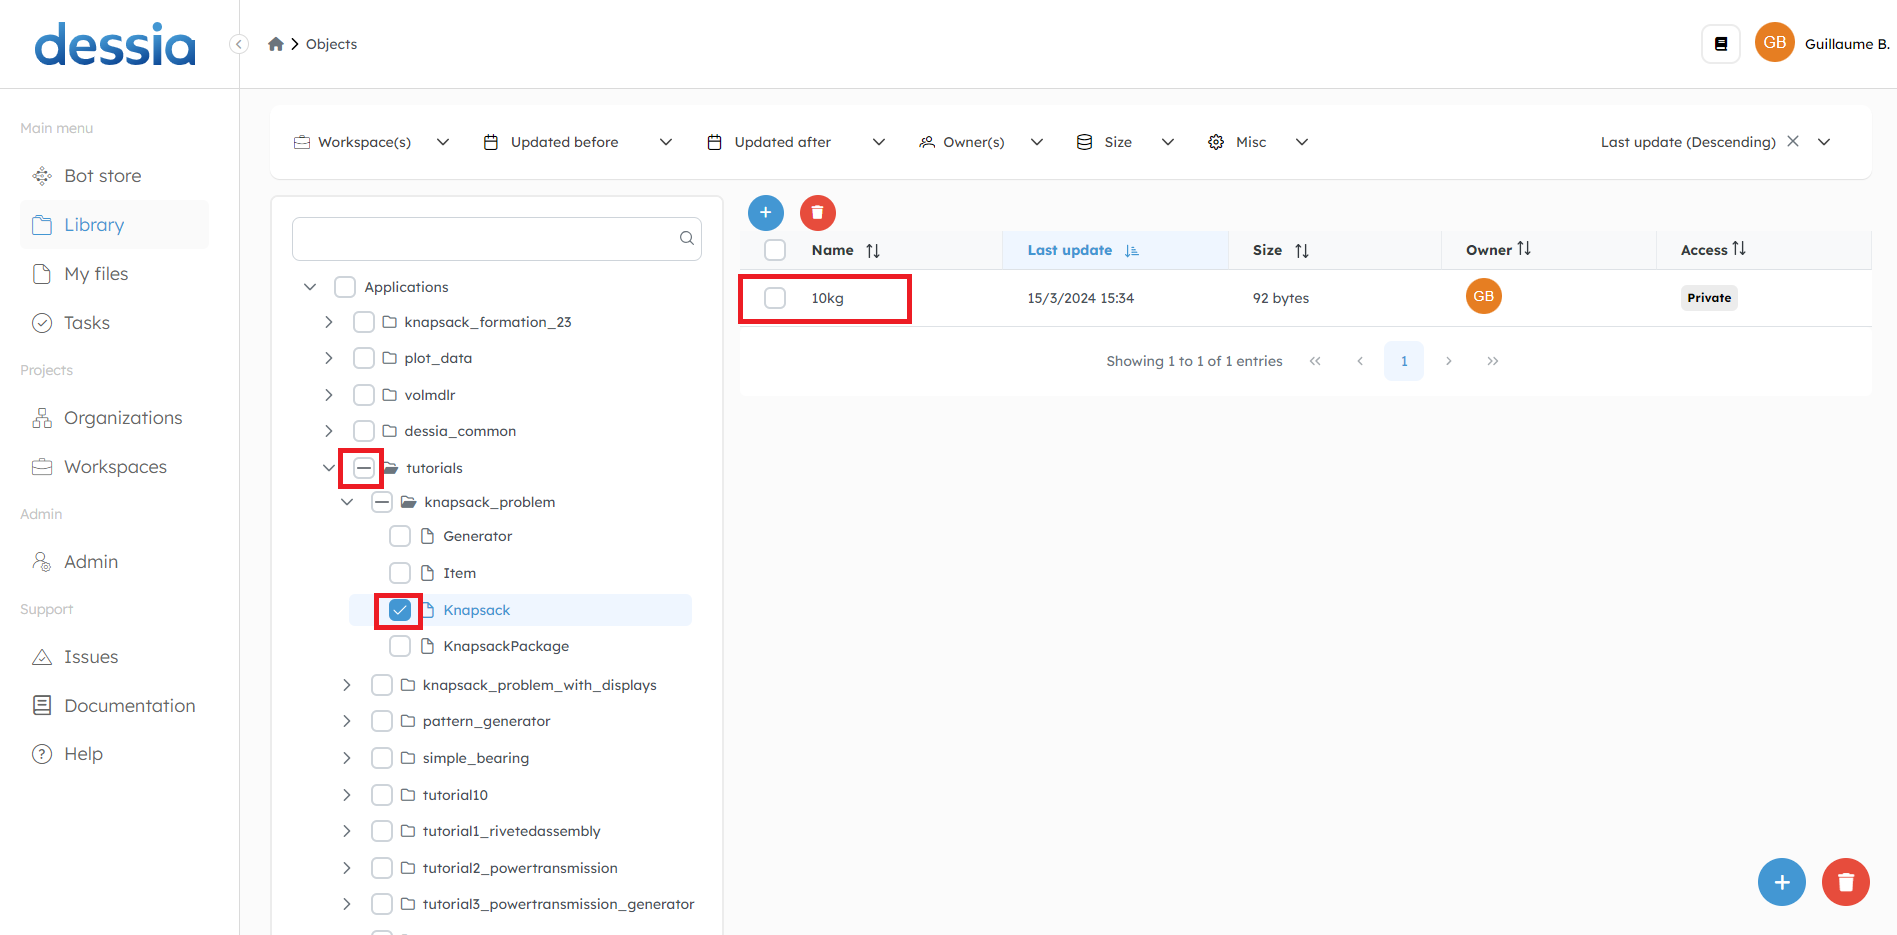
To open a specific object, it is recommended to first select the application where the object is defined. Then, choose the desired object type among those listed in the selected application. Finally, click on the object to open it.
The following image shows how to open the "10kg" knapsack object from the Tutorials application.
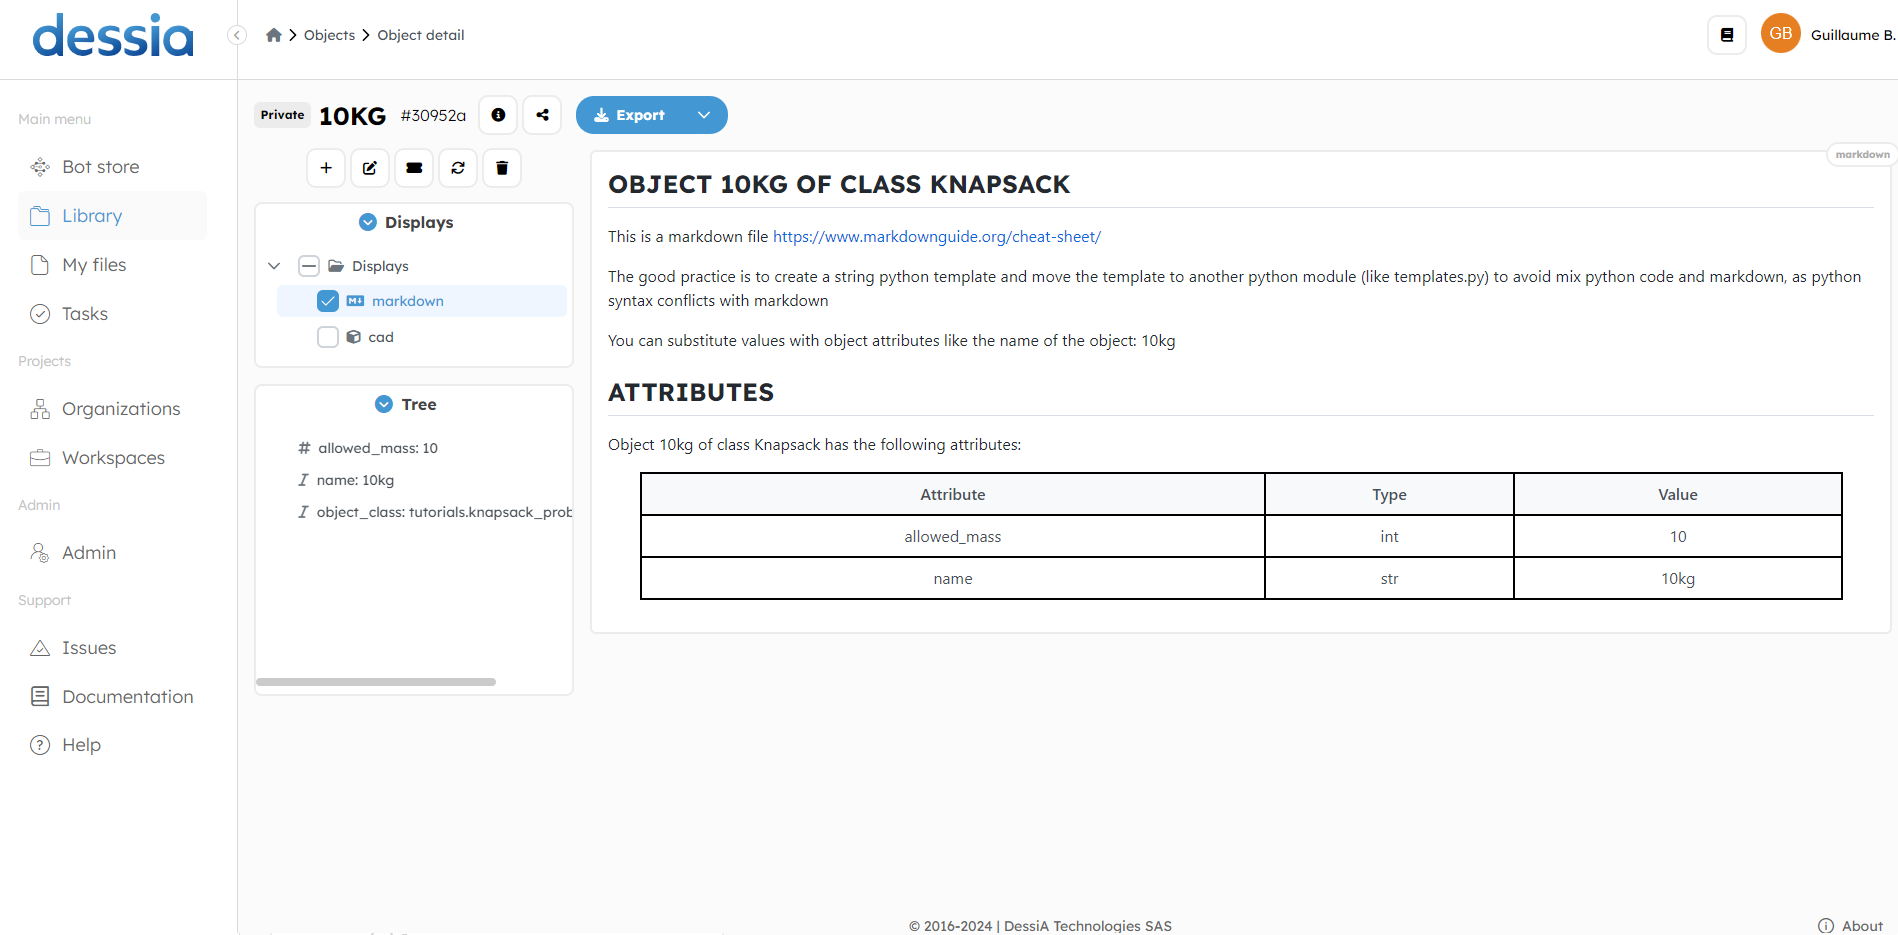
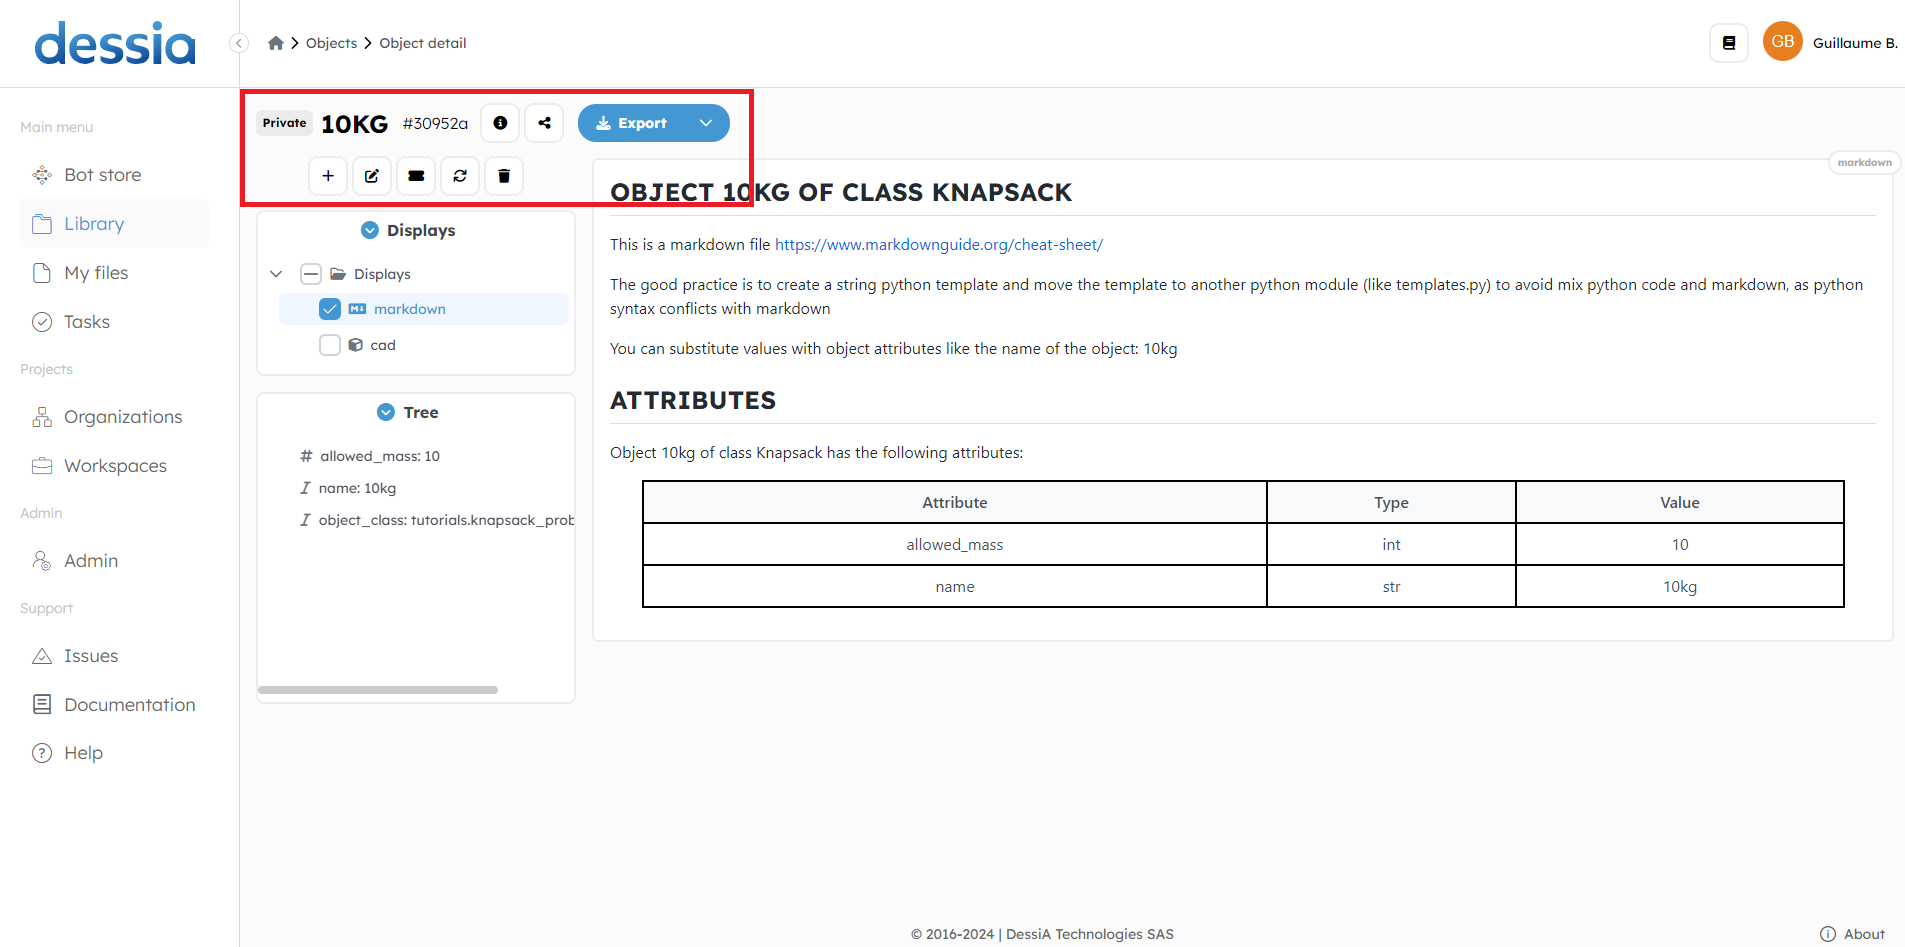
The user is redirected to the Object Detail section, which displays global information about the object, such as a list of its attributes. The following picture shows details of the "10kg" knapsack that was previously opened.
b. Control an existing object
The Controls menu can be accessed from the Object Detail window of every Library object. From this menu, the user can perform the following actions on the selected object:
- Add an object of the same class
- Edit the object
- Share the object with a workspace
- Add an issue
- Delete the object
The following pictures illustrate the first four controls that can be performed on a Library object (the Delete function is simple: once the user clicks on the red button, a confirmation message appears to delete the object permanently).
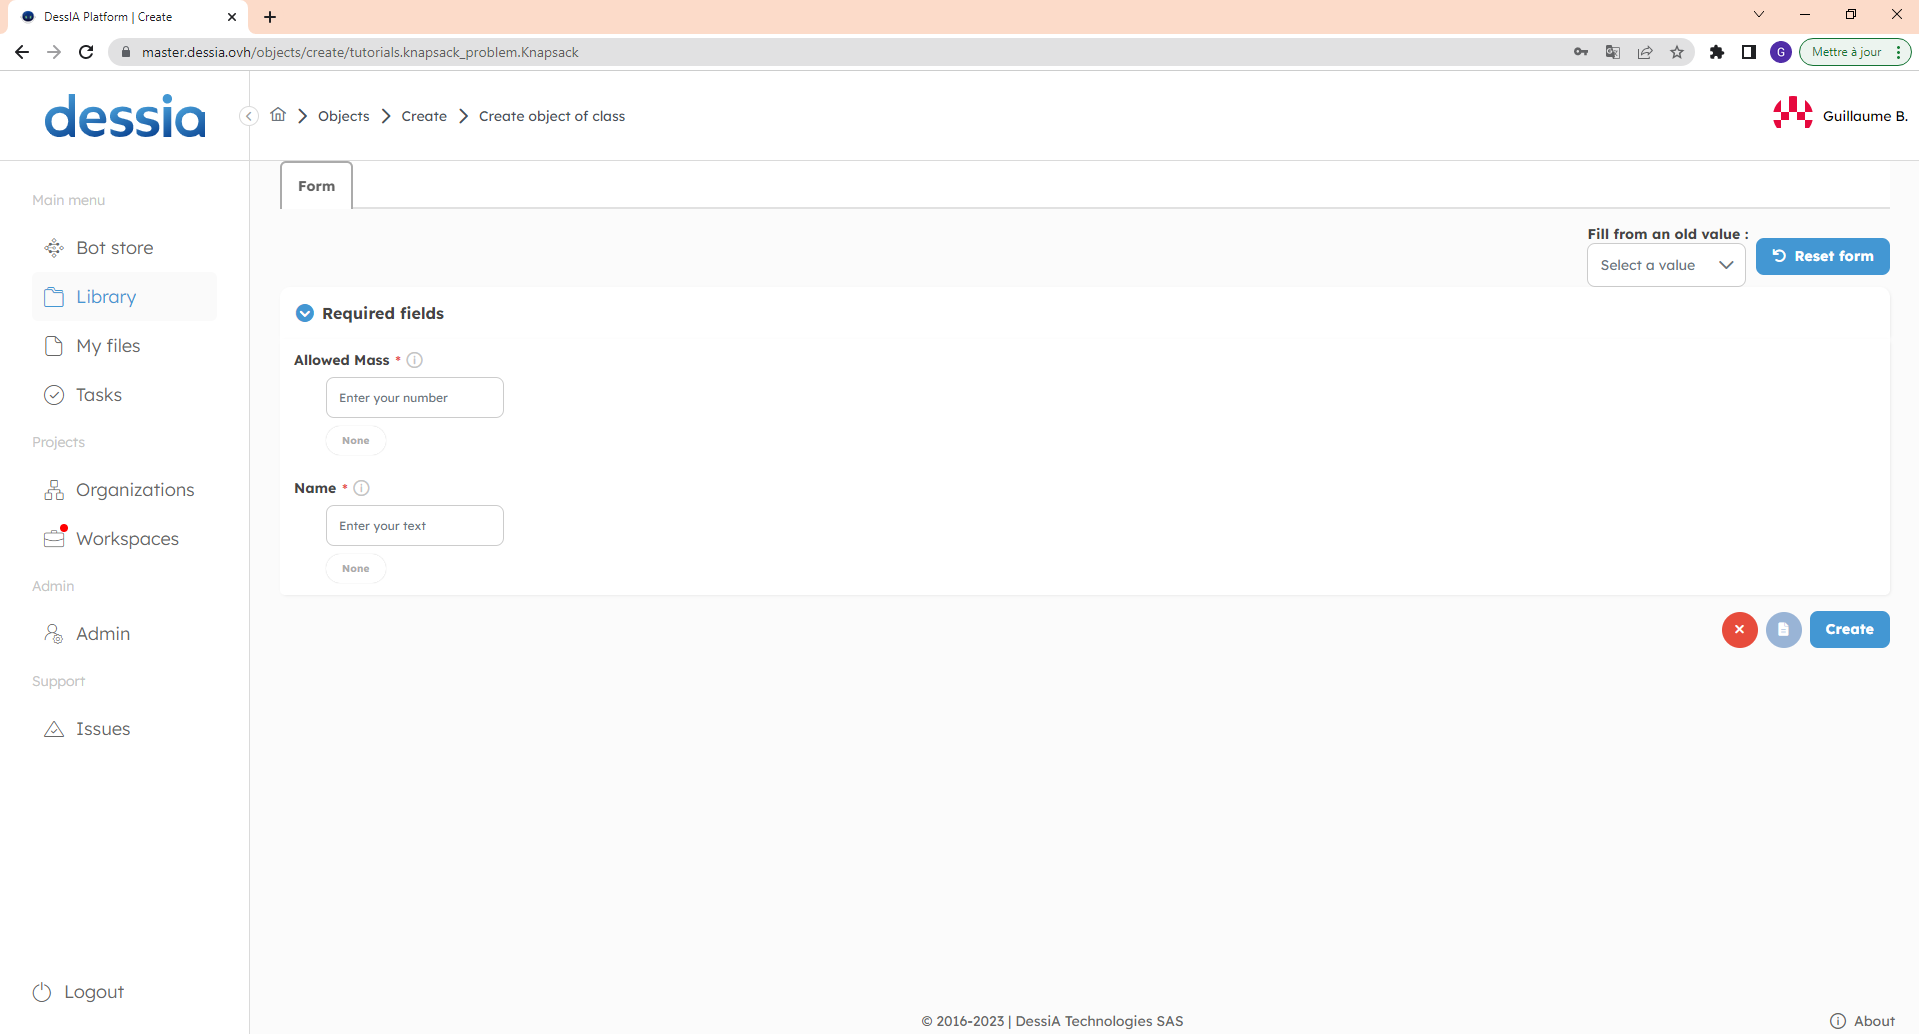
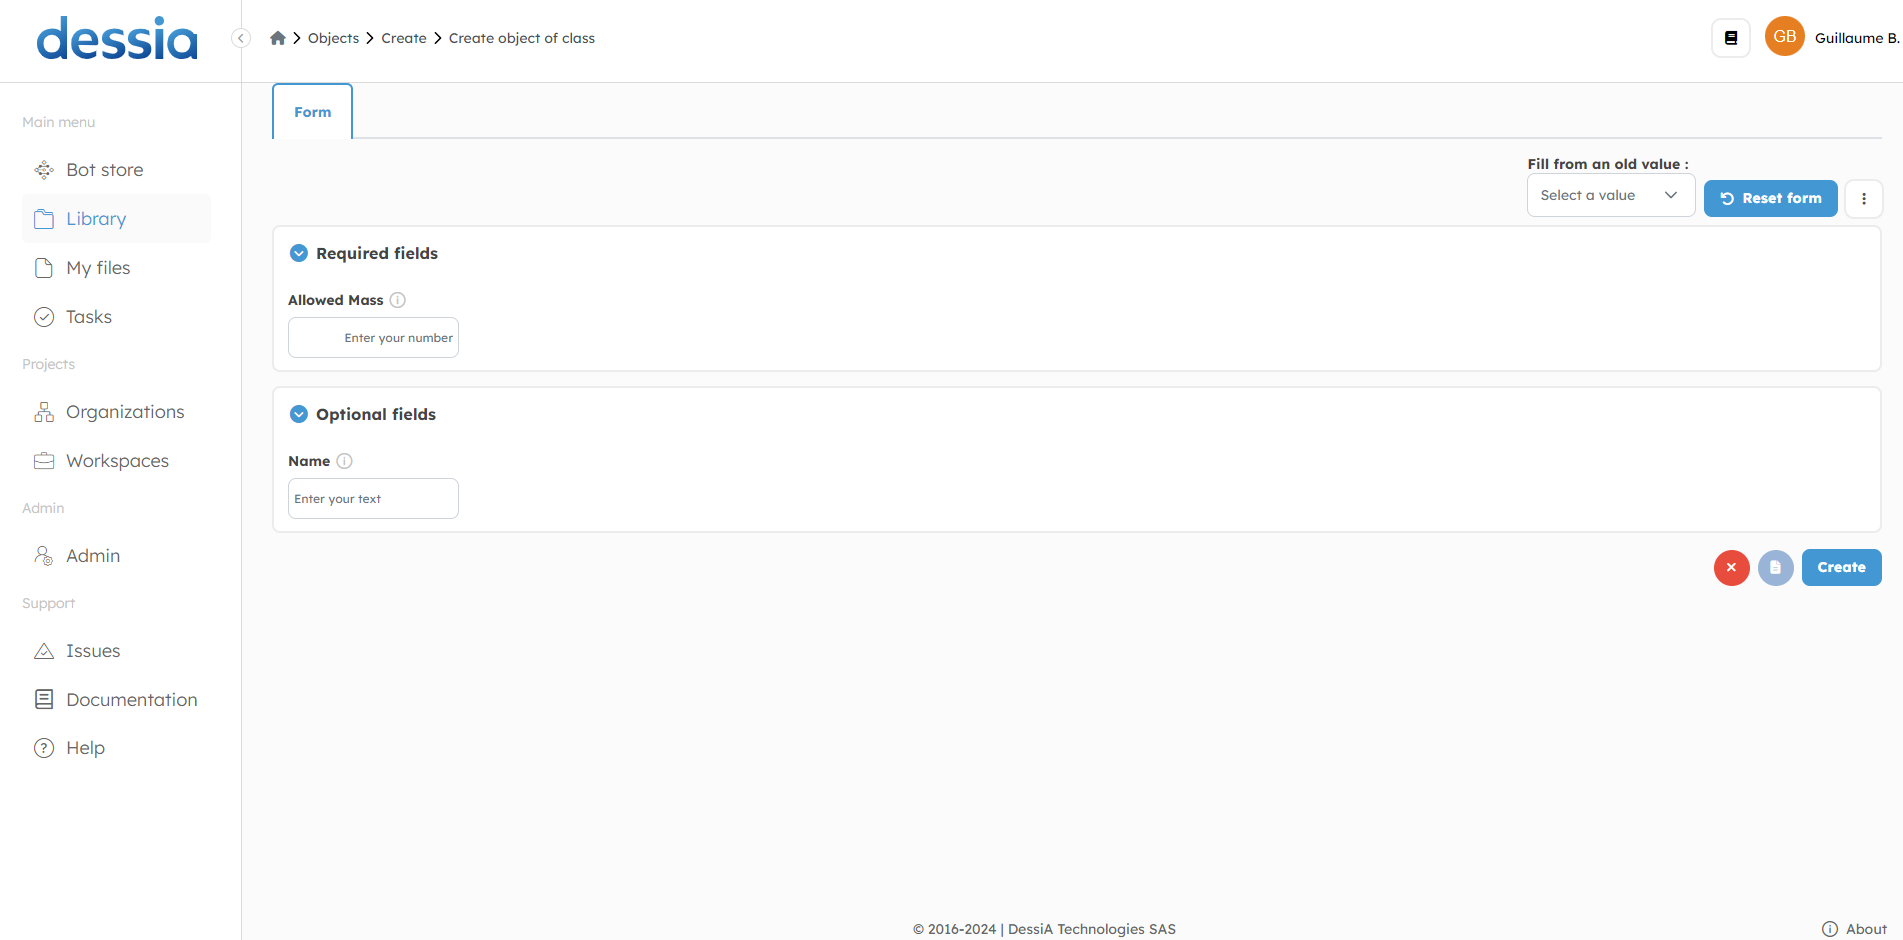
The first picture presents the Create Object of Class window, which opens when the user clicks on the Add an object of the same class control. In this window, the user is prompted to fill in all the required fields to define a specific object of the desired class. In this example, a knapsack class object is being created, and the user must fill in the two required attributes: "Allowed Mass" and "Name."
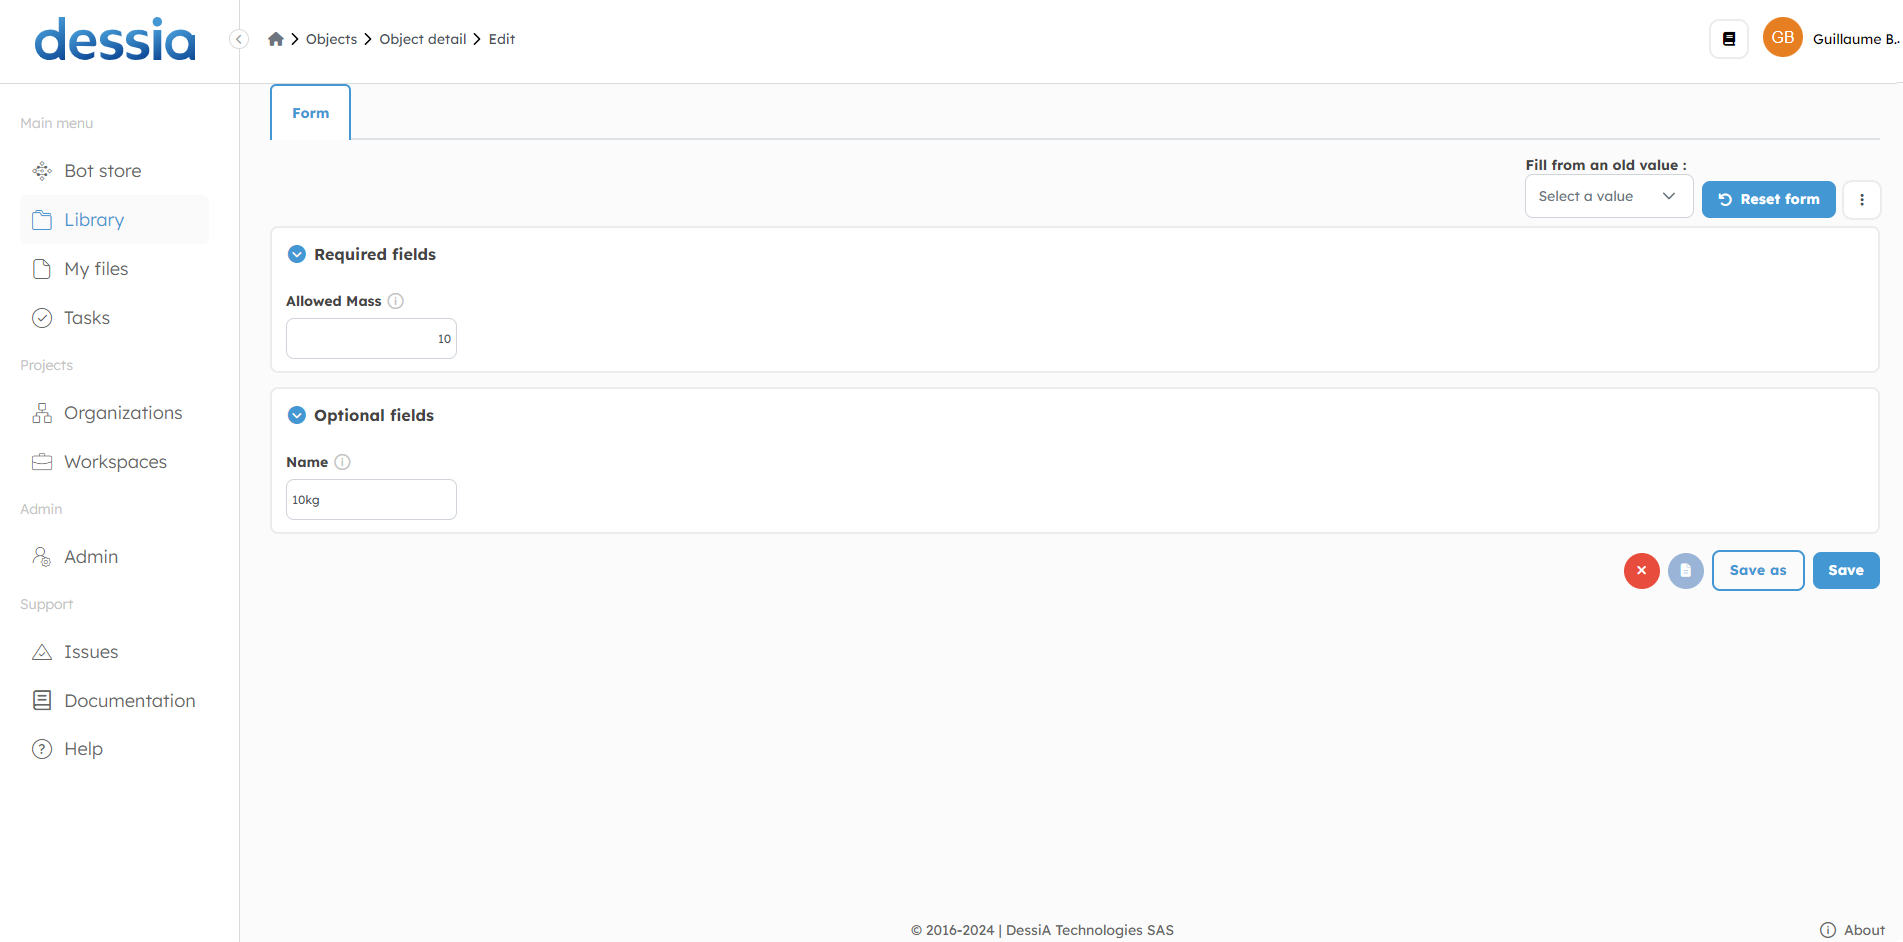
The following picture shows how to edit an existing object. When the user clicks on the second available control, Edit the object, an Edit window opens. The user can modify all the attributes defined in the object. In the picture below, the "10kg" knapsack class object is open, allowing the user to modify both attributes: the "Allowed Mass" (currently set to 10) and the "Name" (currently set to 10kg).
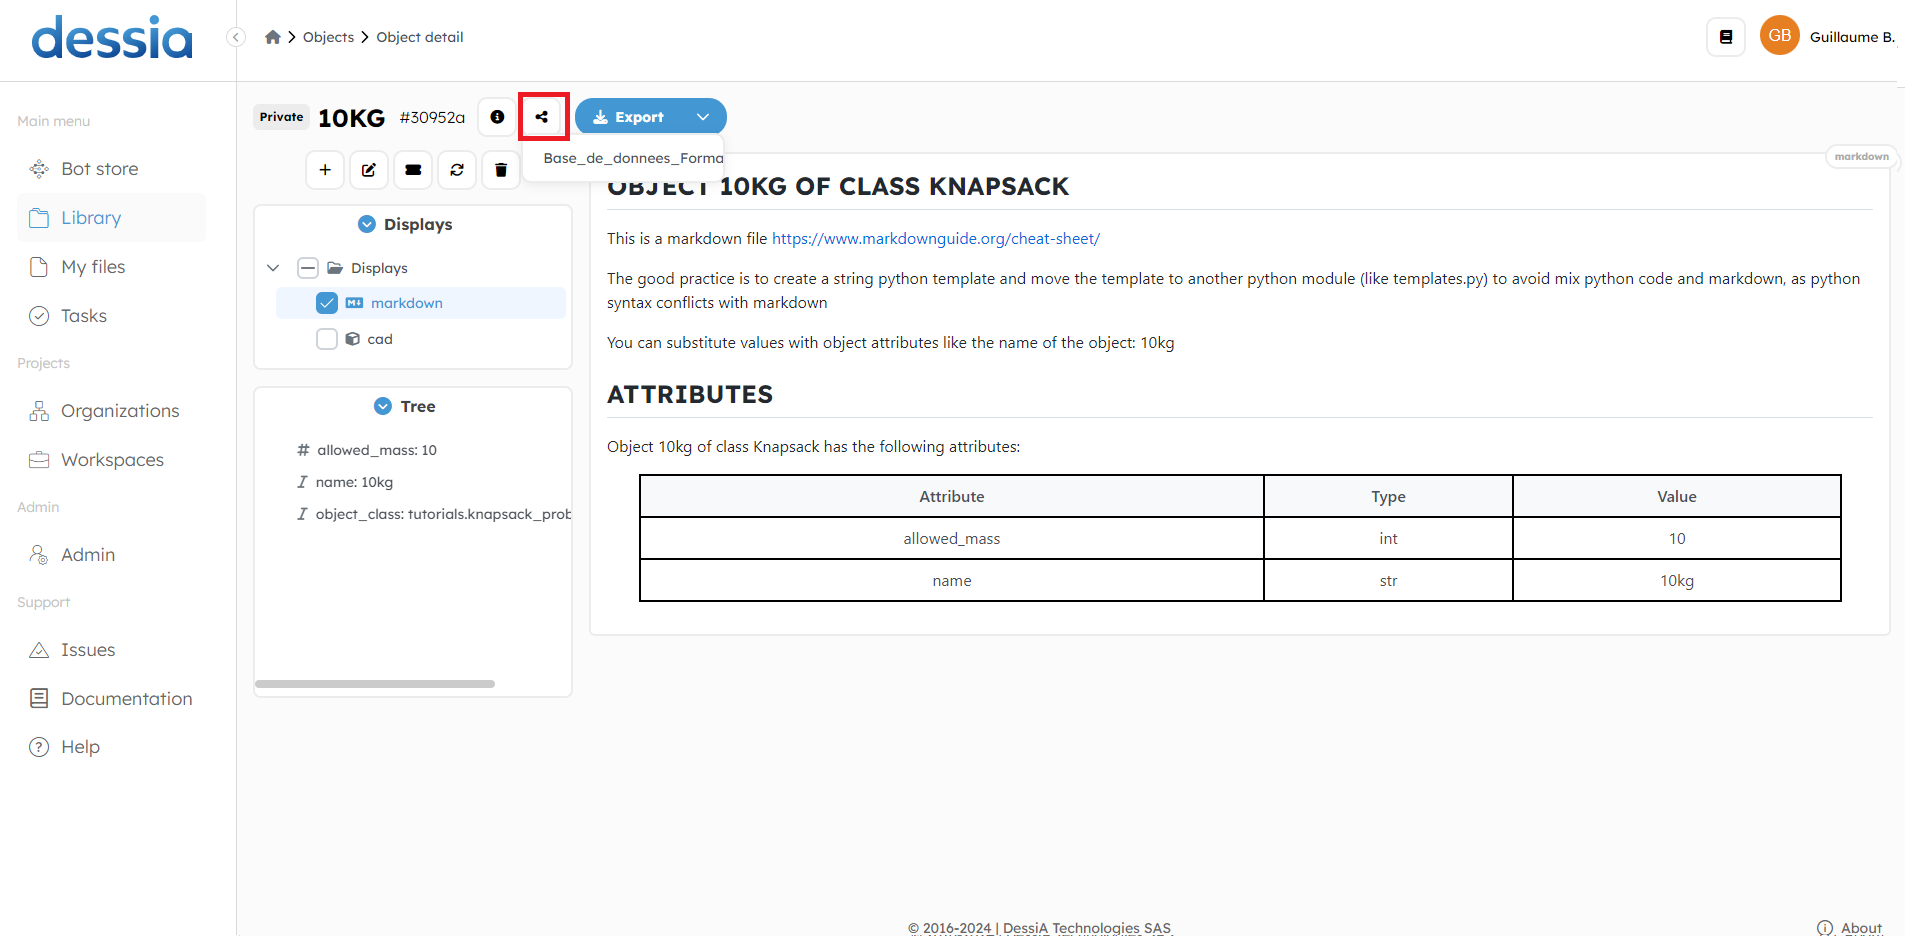
Users can share objects from the Library to a specific workspace. To do this, click on the Share button and select the desired workspace from the available workspaces list. In the example shown below, only one workspace is available: "Base_de_donnees_Formateurs".
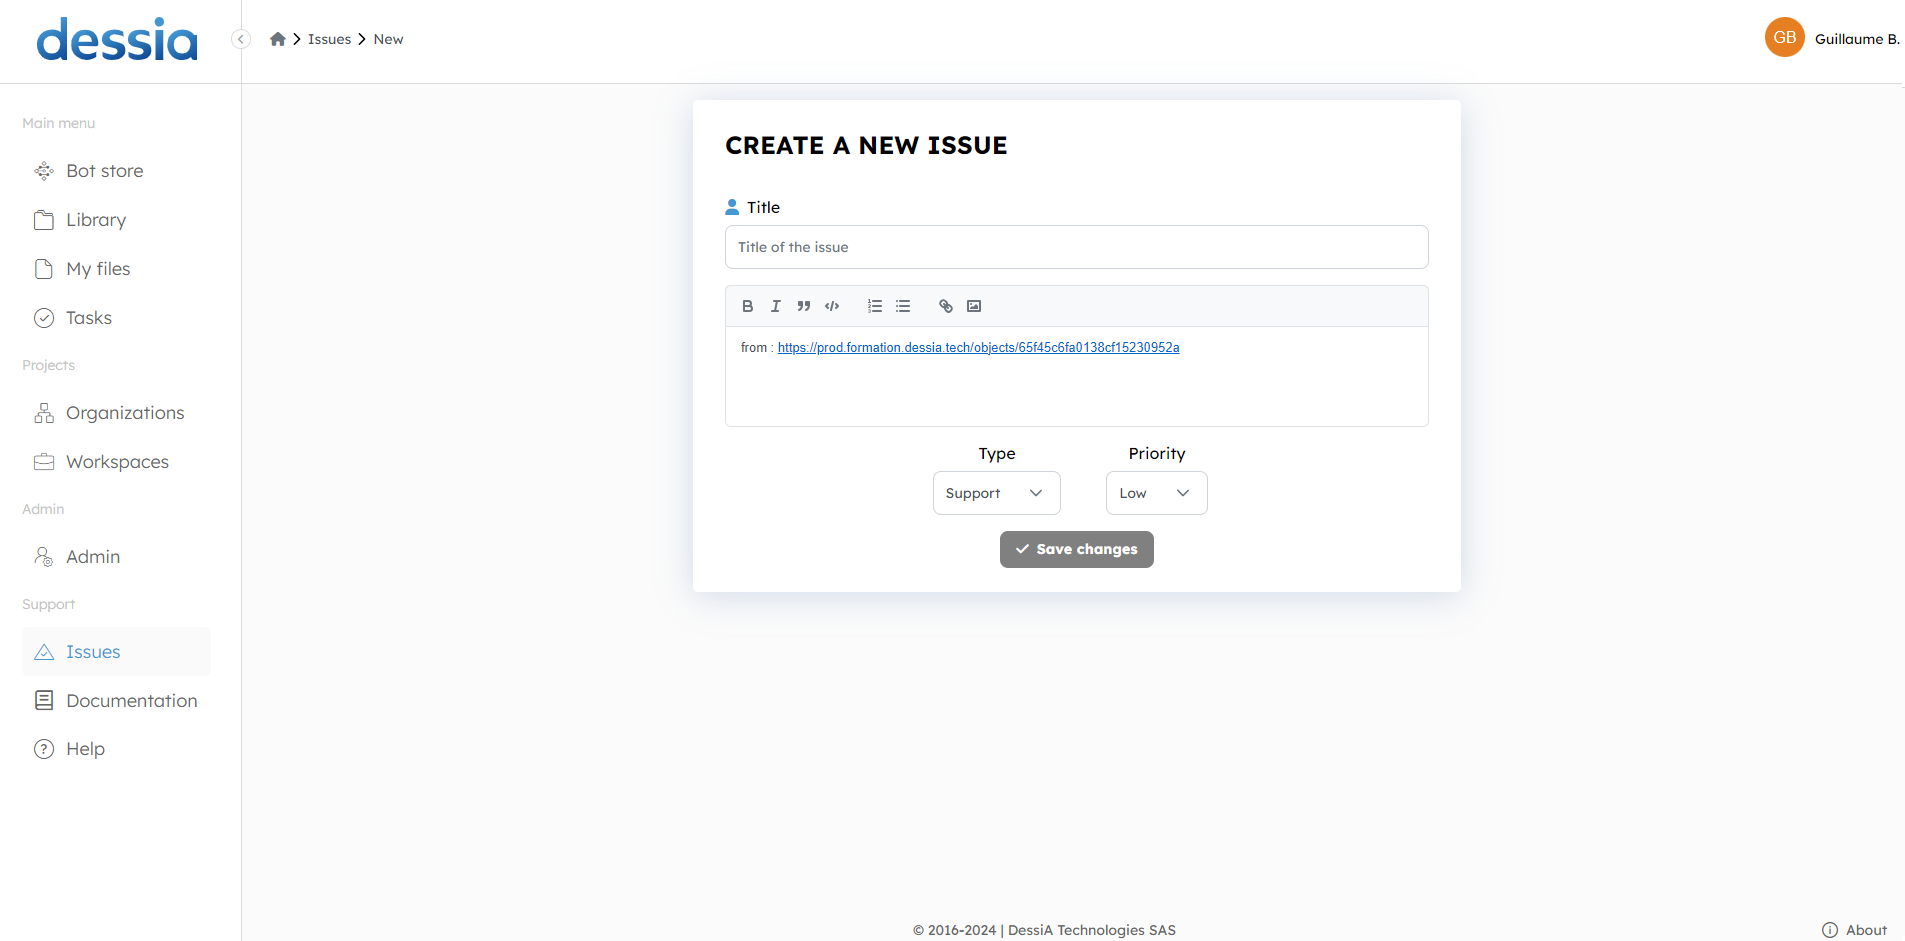
This section details the process of adding a new issue for an object. Start by clicking on the "Add issues" button and then provide the following information about the issue:
- Title of the issue
- A description of the issue
- Issue type (Support, Feature request, or Bug)
- Issue priority (Low, Medium, High, or Critical)
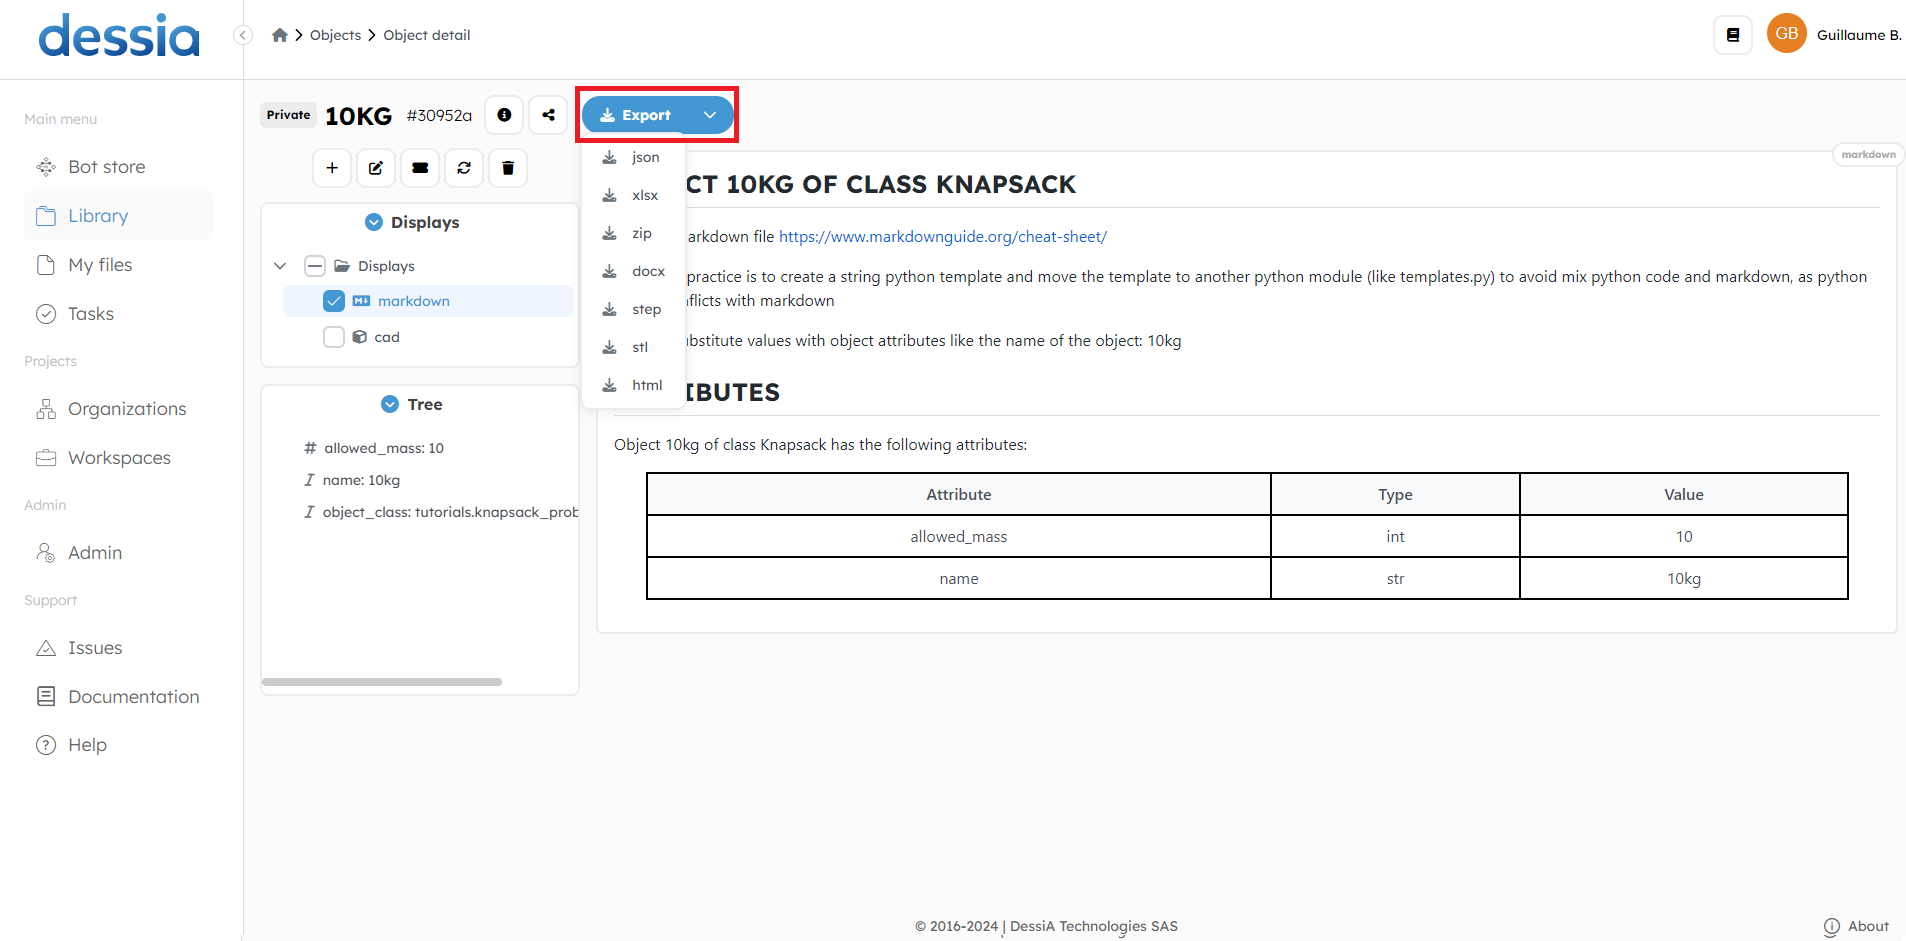
c. Export an existing object
After opening a specific object from the Library, you can export it in several formats:
- json file
- excel file (xlsx)
- zip file (containing all export formats)
- word file (docx)
- step file
- stl file
- html file
The last three options (step, stl, or html are only available for objects that contain geometry data).
In the image below, you can see how to export the "10kg" knapsack class object as a json file. Simply click the json export button to begin the download process.
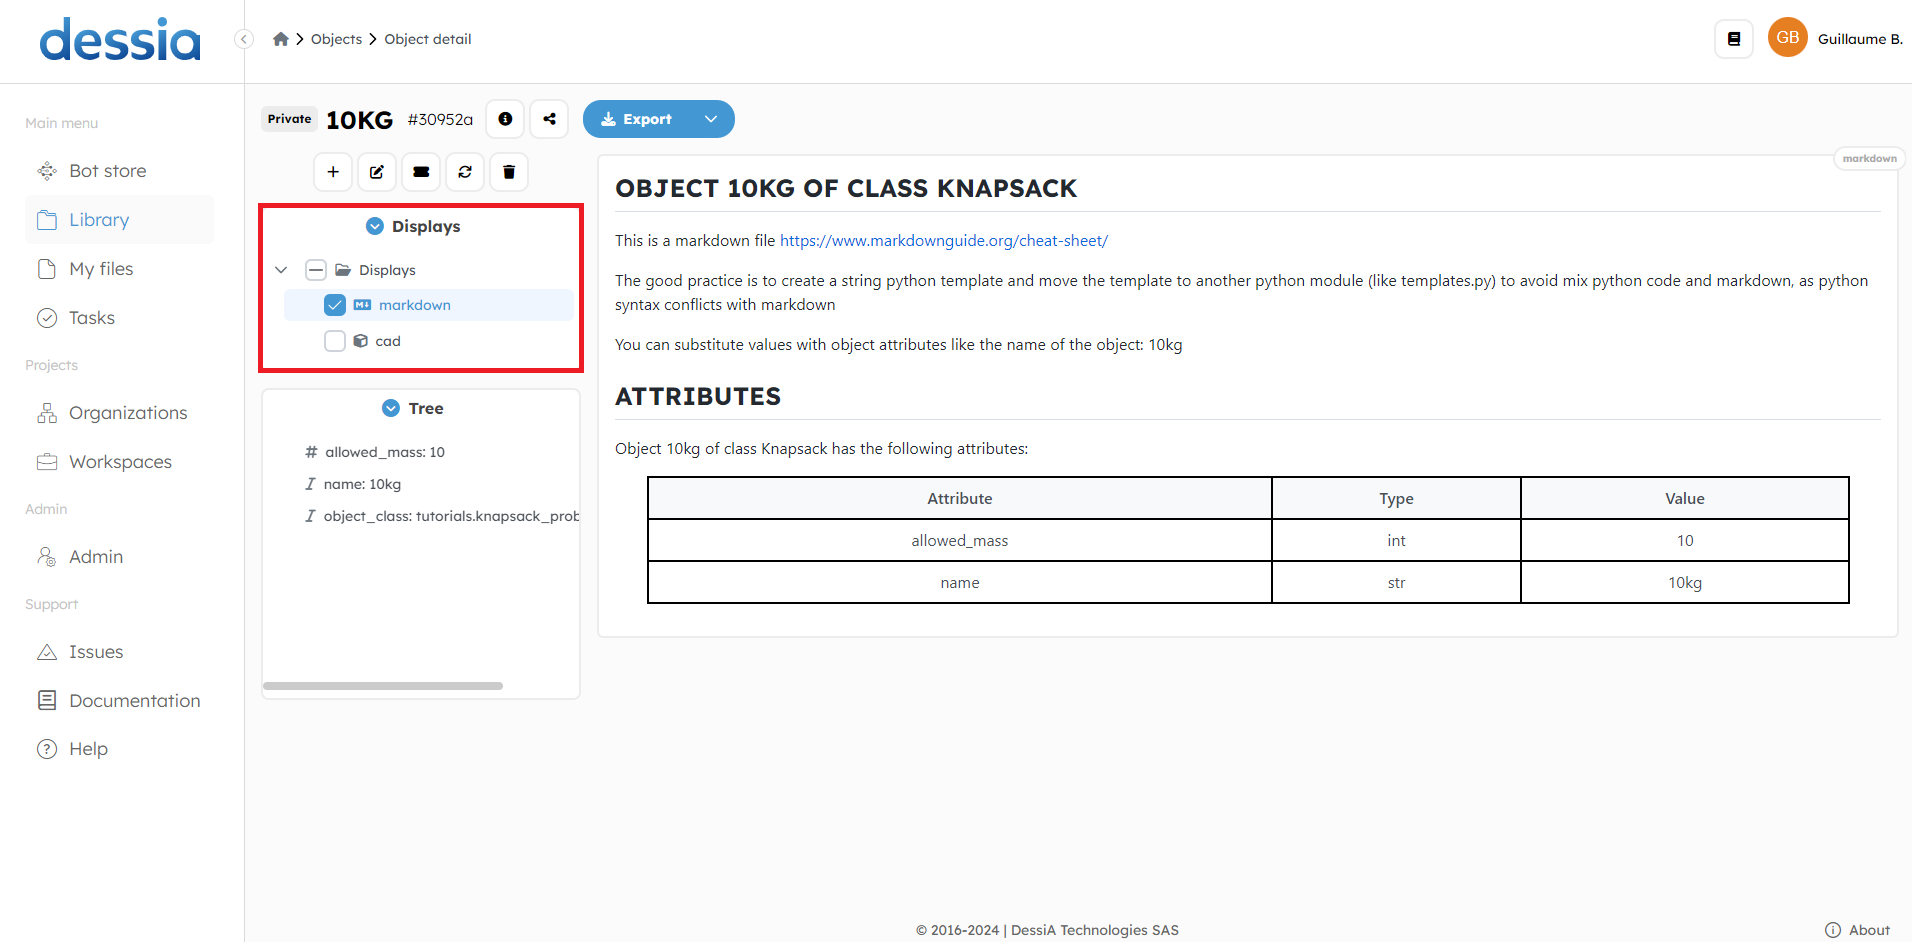
d. Display an existing object
This section presents all the display options for a Library object. The picture below shows the displays available for the "10kg" knapsack object, with the markdown display highlighted. This display shows the object's attributes.
3. Creating a new object
This section will cover the process of creating a new object. There are two available solutions:
- Creating from a json file
- Creating from the class object
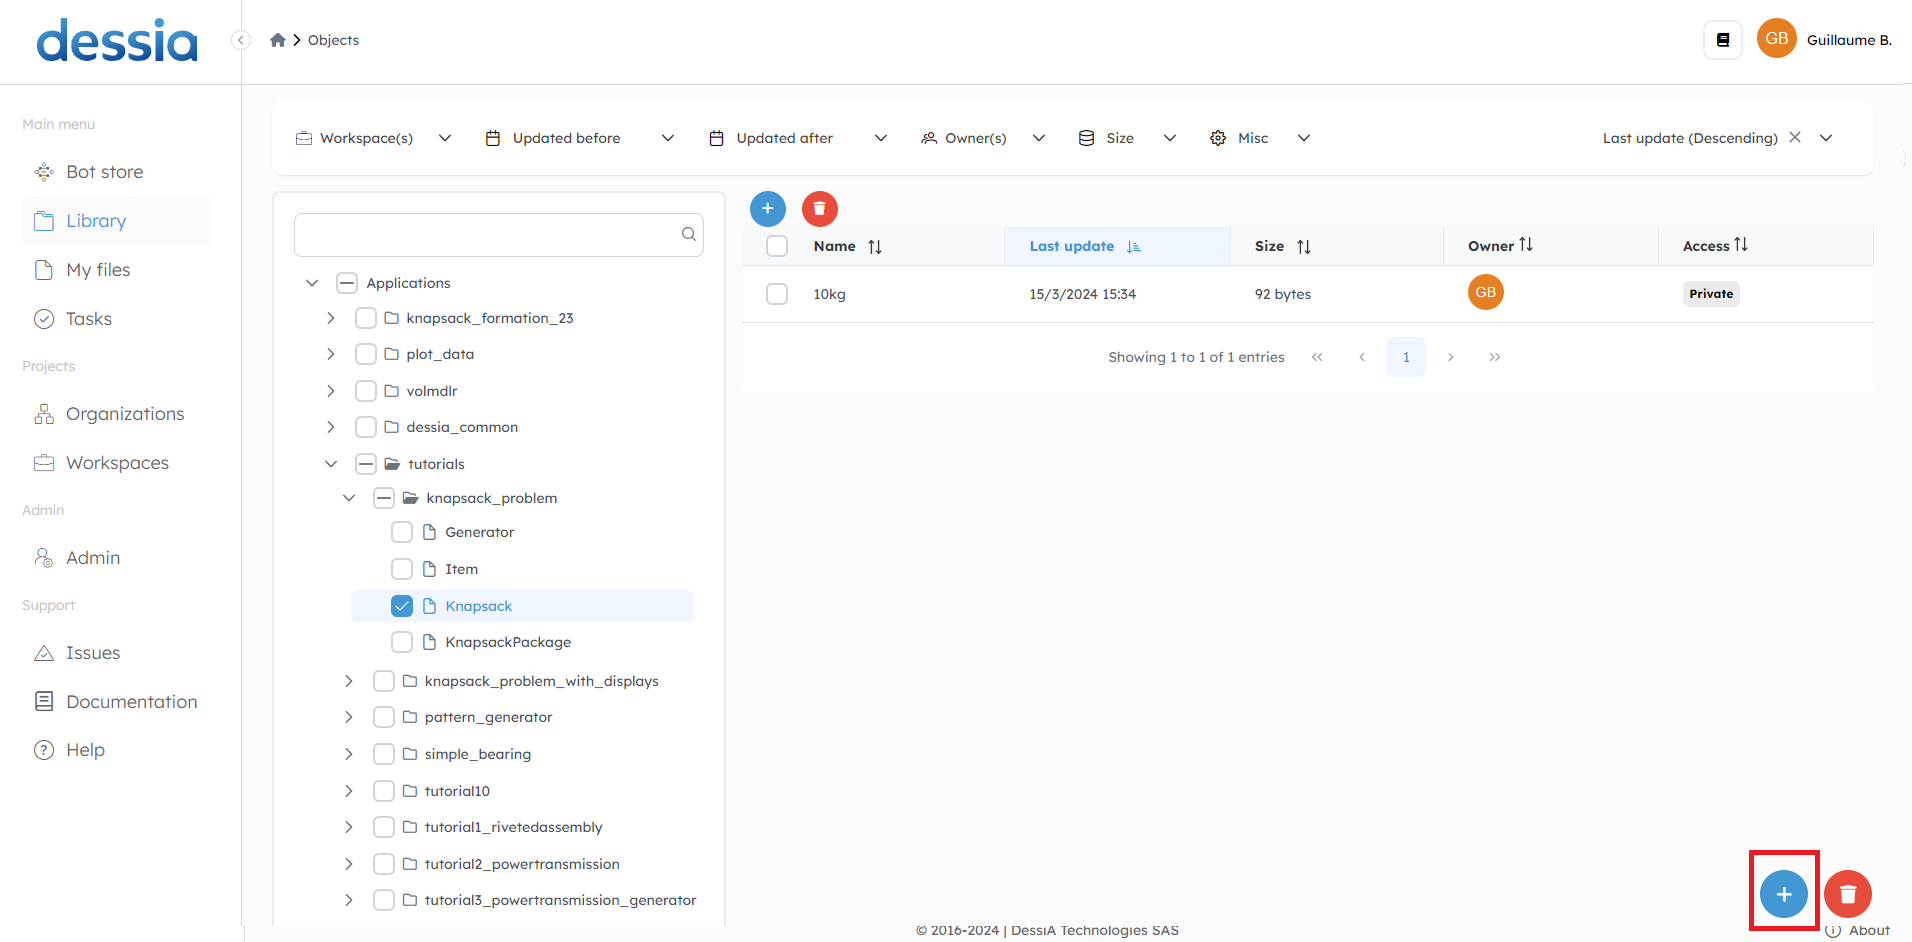
a. From a json file
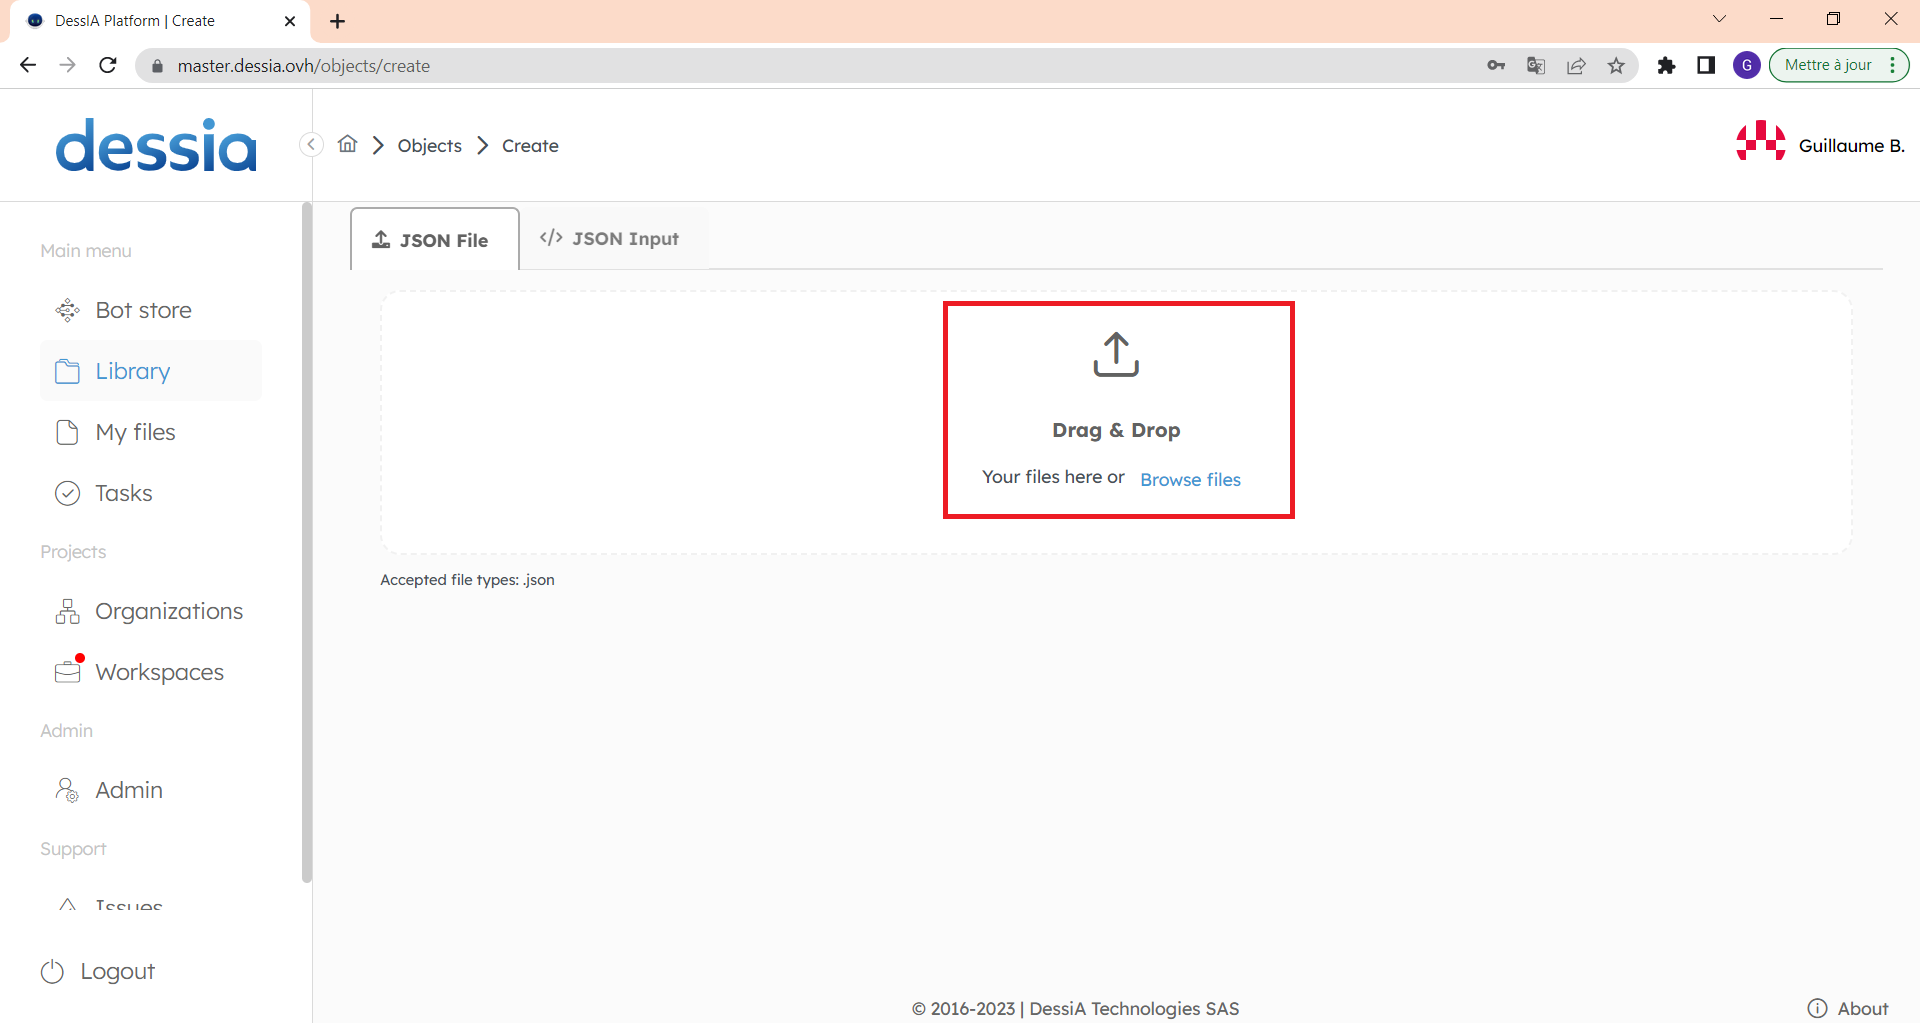
The first solution for creating a new object in the Library is to use a json file. When the user is in the Library section, they can access the option to add a new object from a json file by clicking the blue "+" button (highlighted in the following picture).
To add the json file, the user can either use the drag and drop feature or browse files and select the json file manually.
b. From a class object
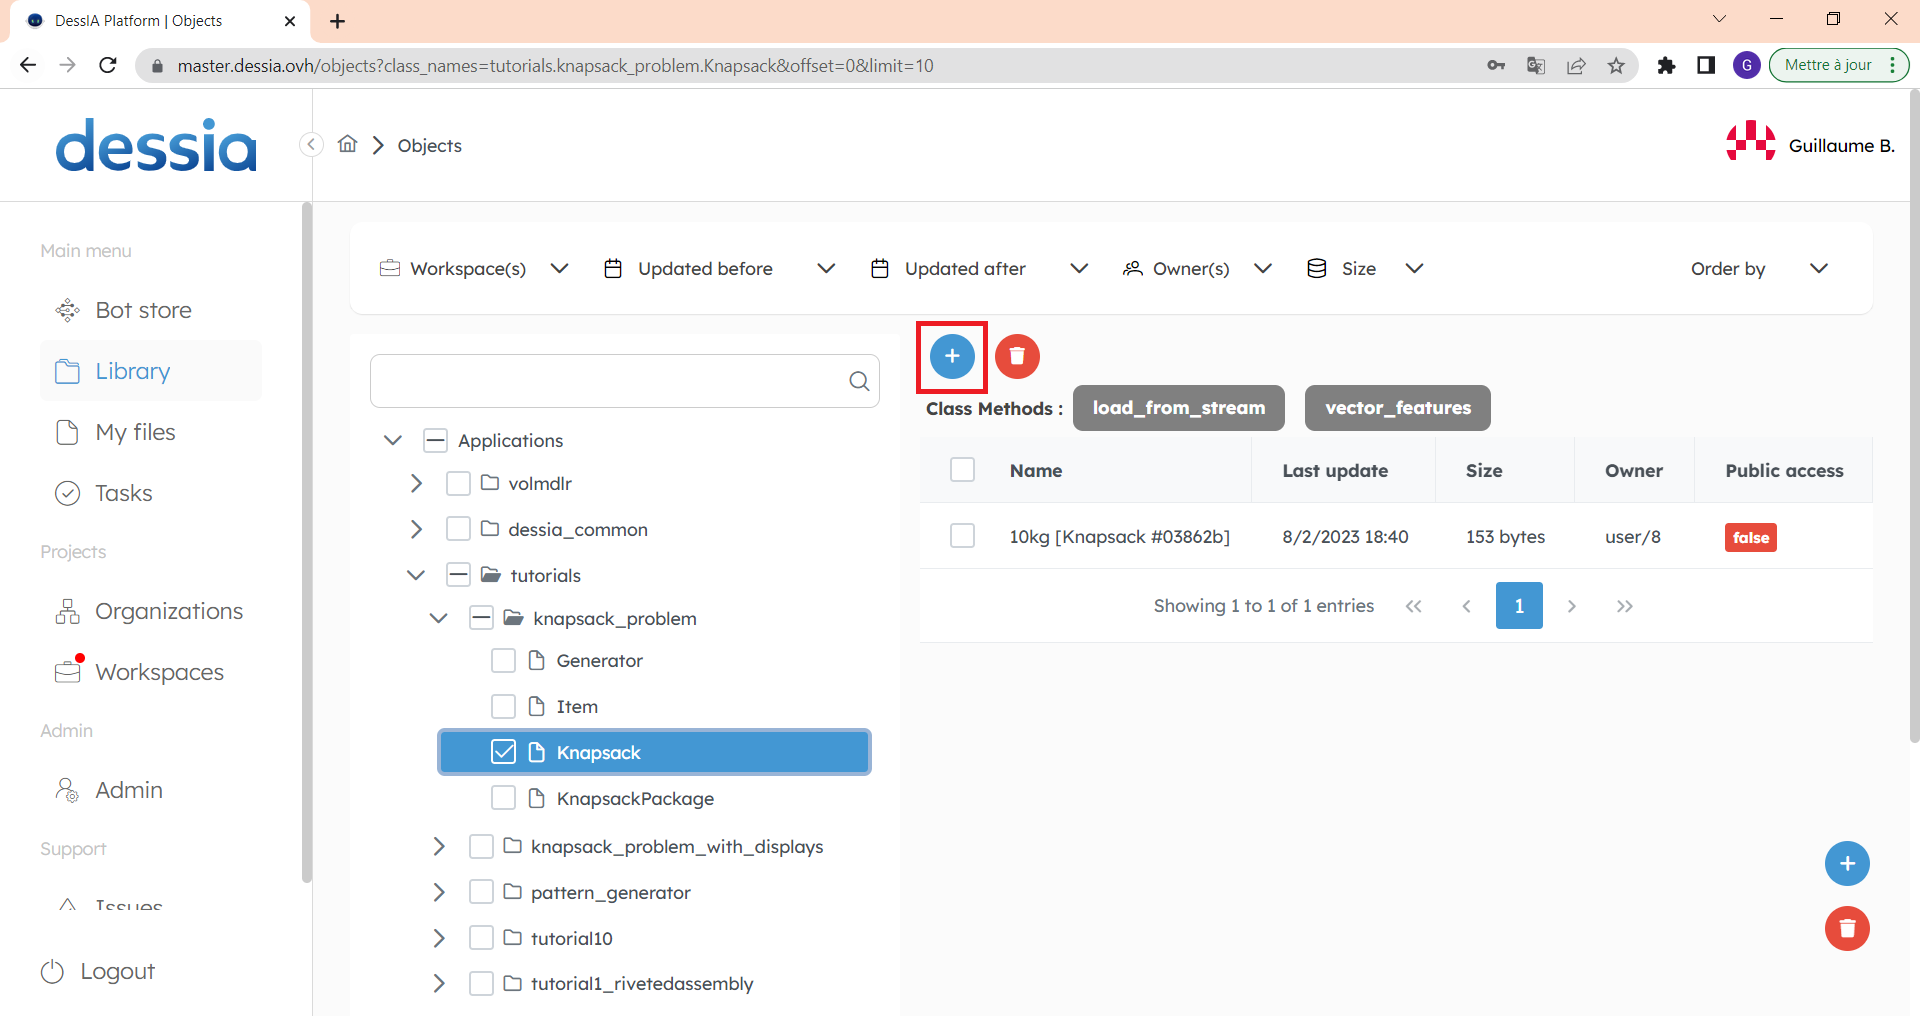
To add a new object to the Library, you can use the class object. First, select the required class object as shown in the following picture, and then click on the blue Add button.
After the user clicks on the Add button, they will be redirected to a window where they can create the new object by specifying the required attributes.